|
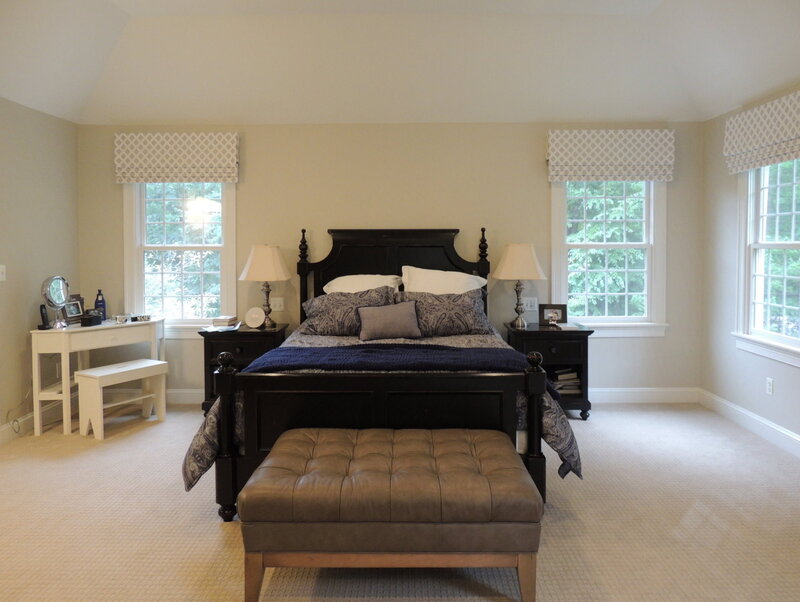
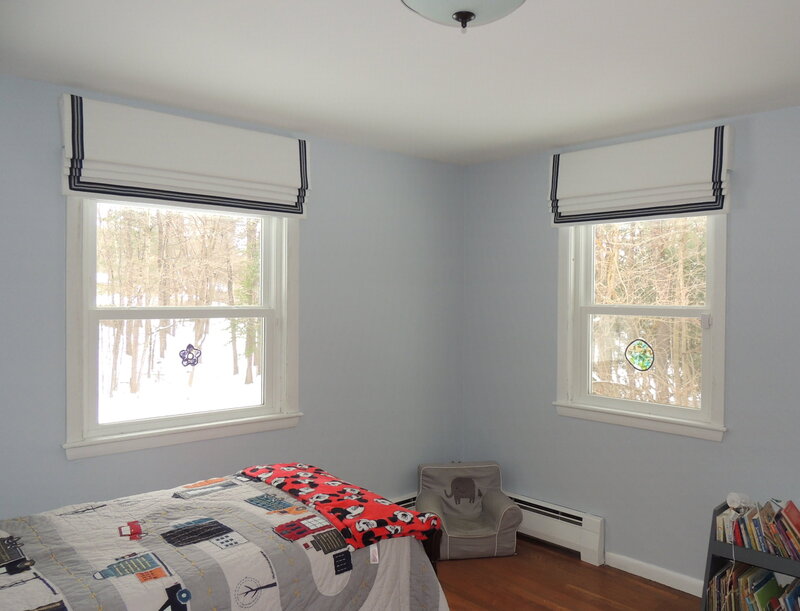
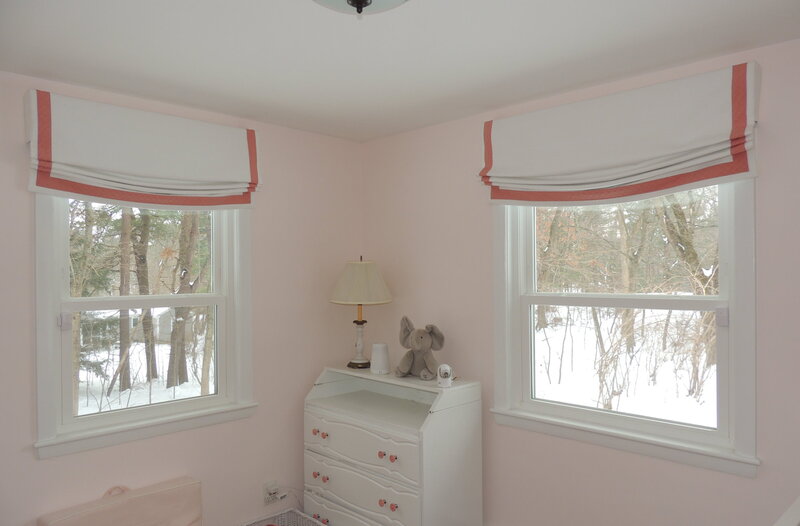
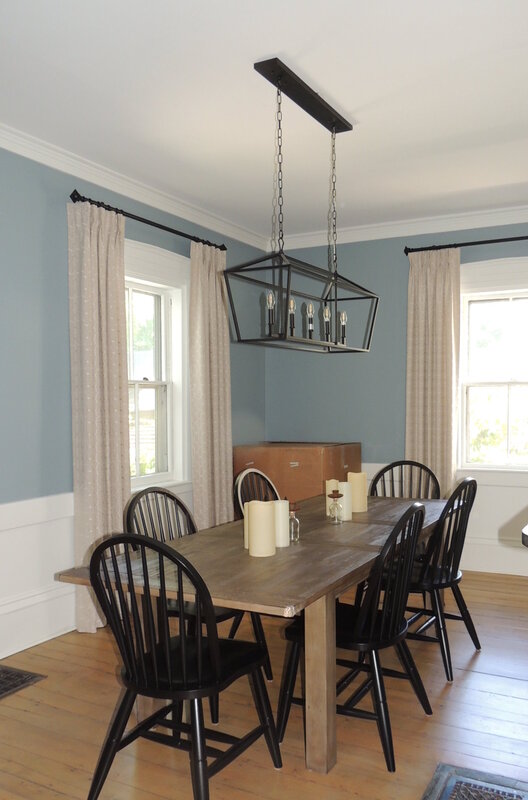
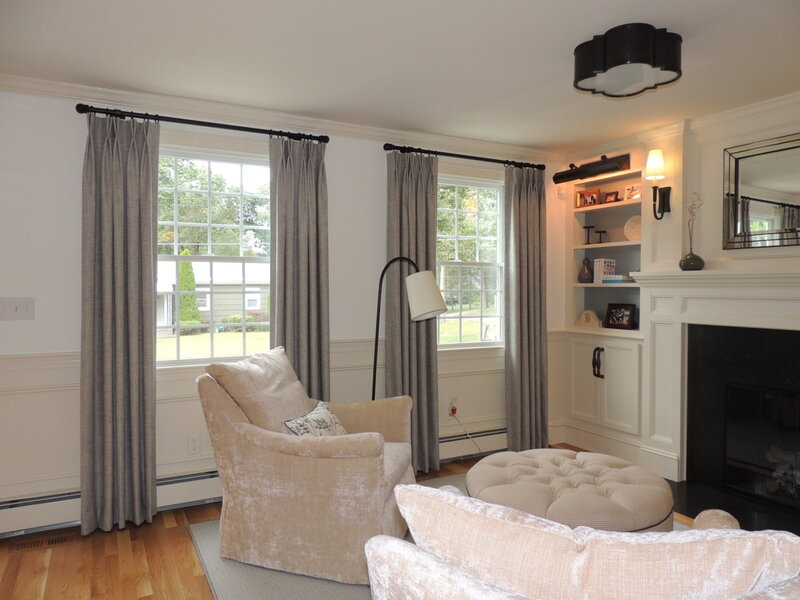
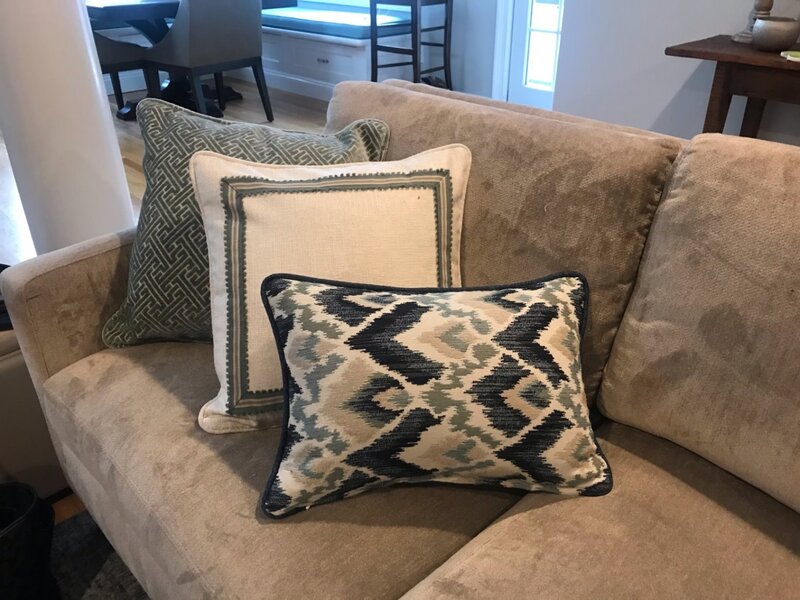
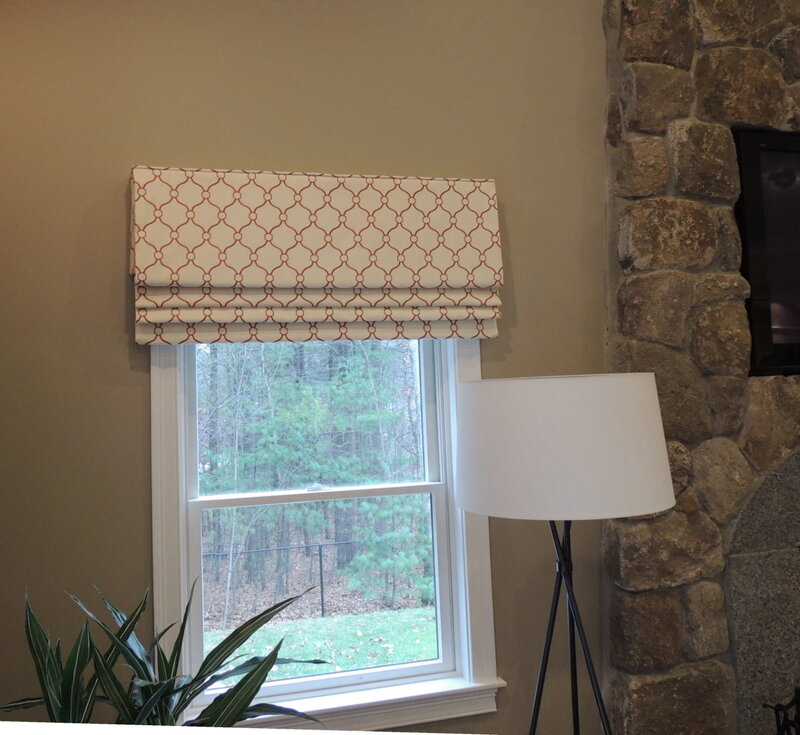
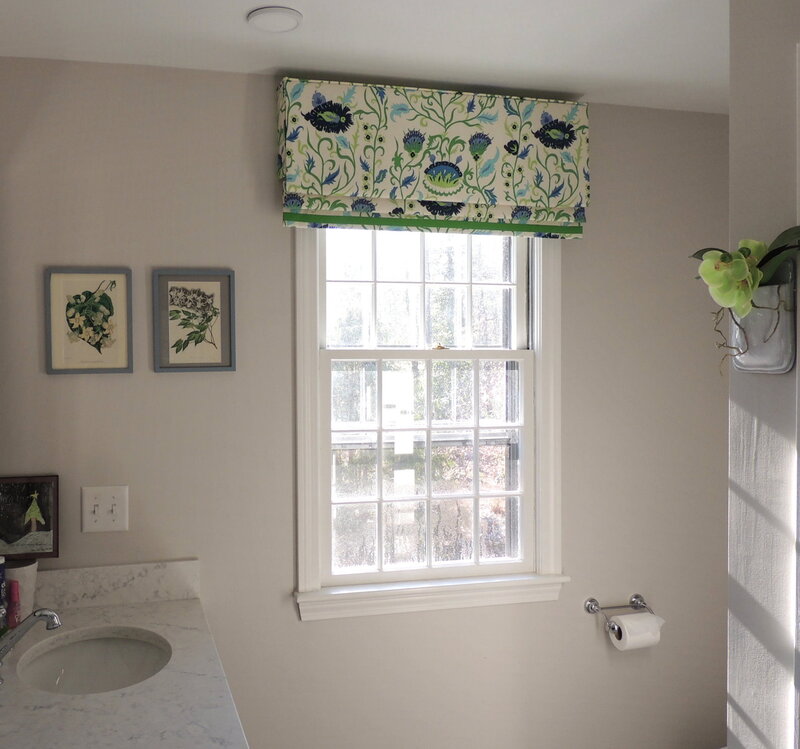
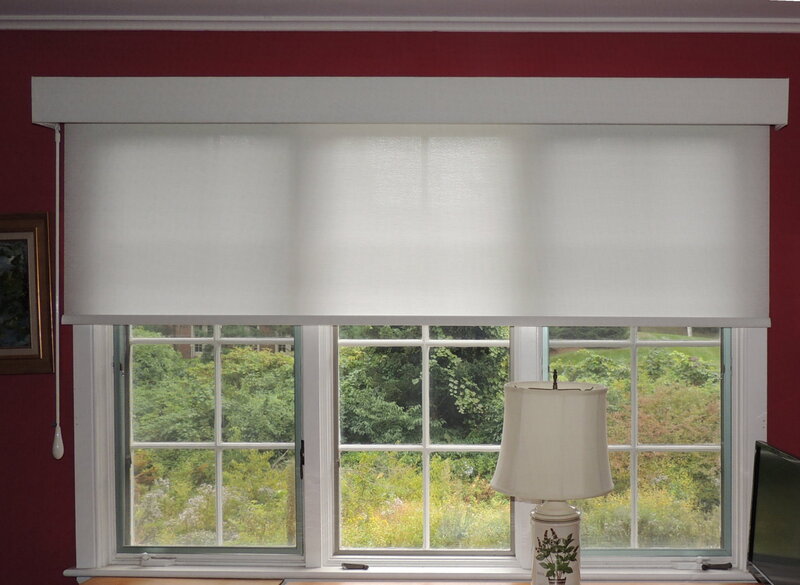
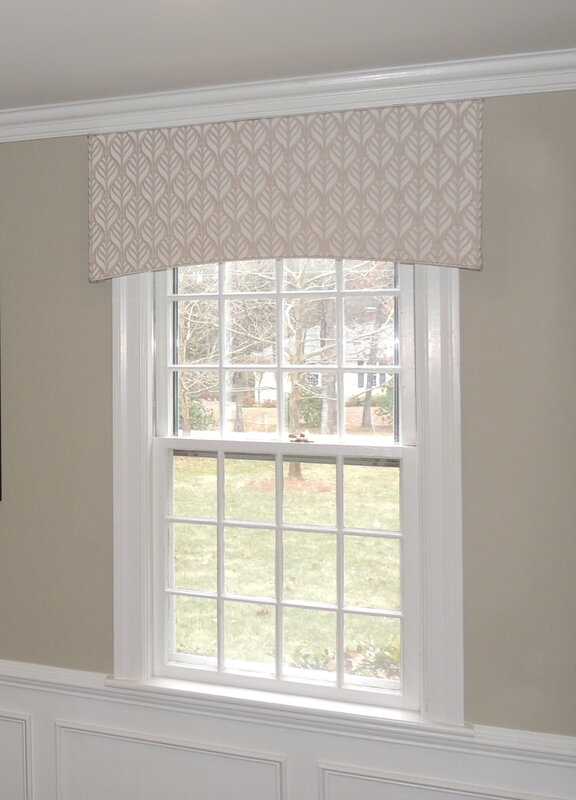
For the last half of 2020 my workroom has been buzzing with lots of activity since so many people have turned their focus to updating their homes this year. I'm very lucky to have so many new and repeat clients that want to work with me to transform their decorating visions into finished rooms. Here are some photos from a few of the projects that I have recently completed.
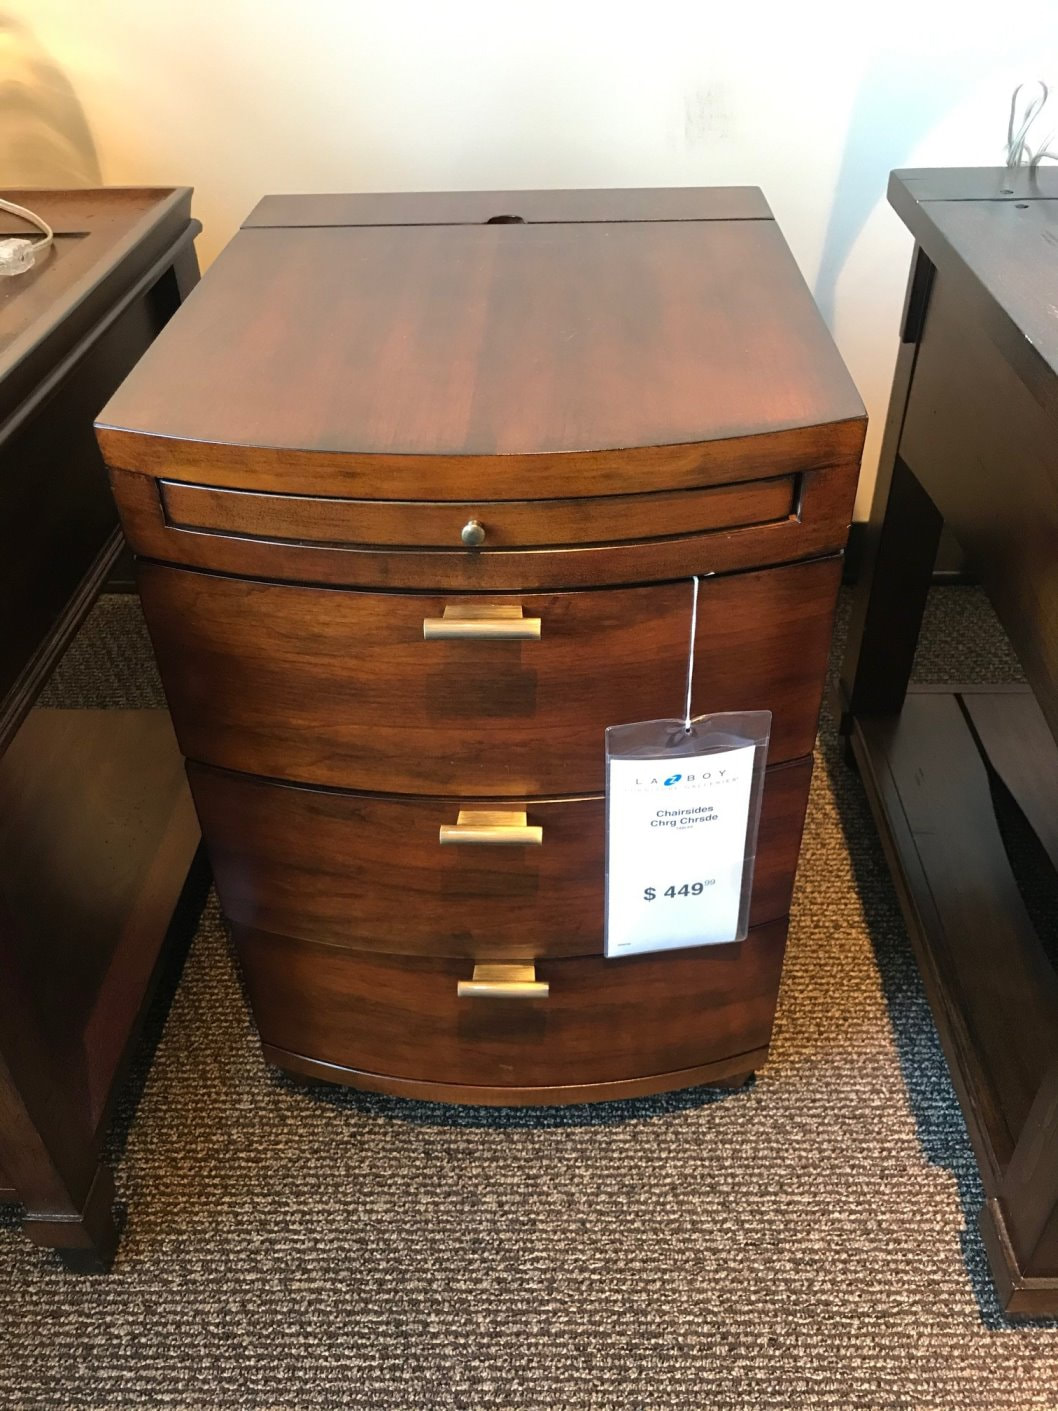
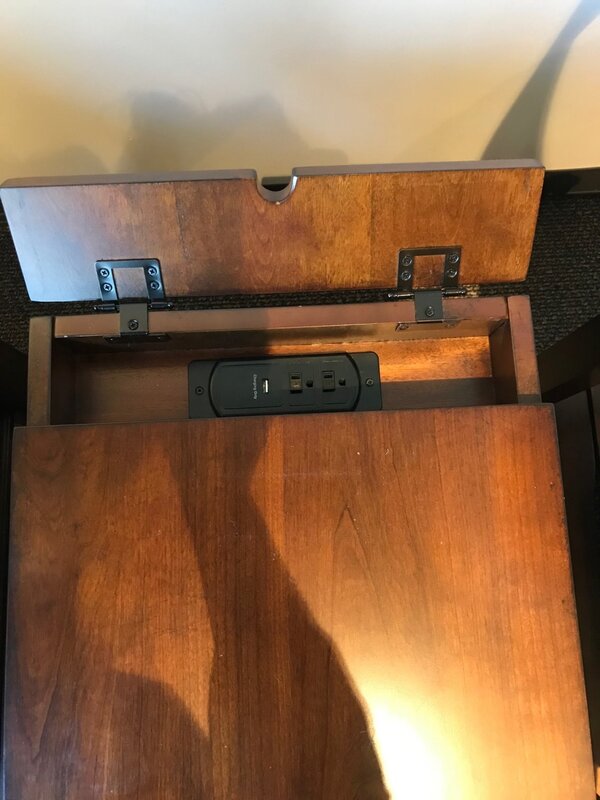
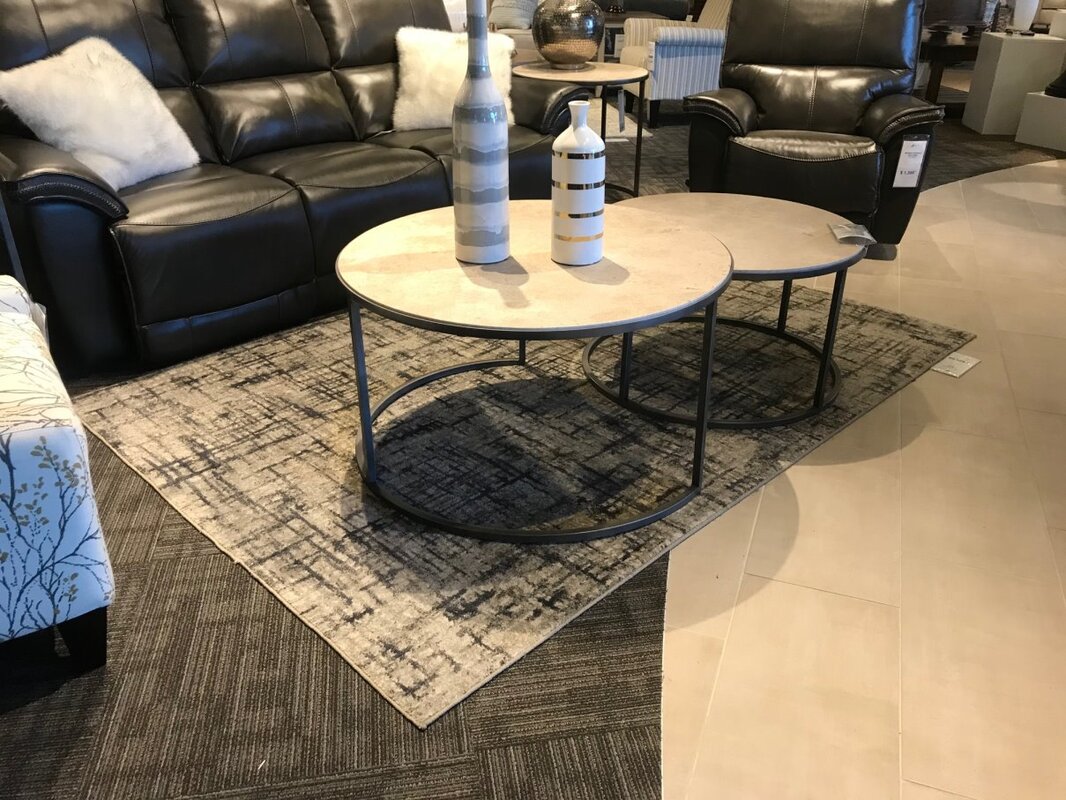
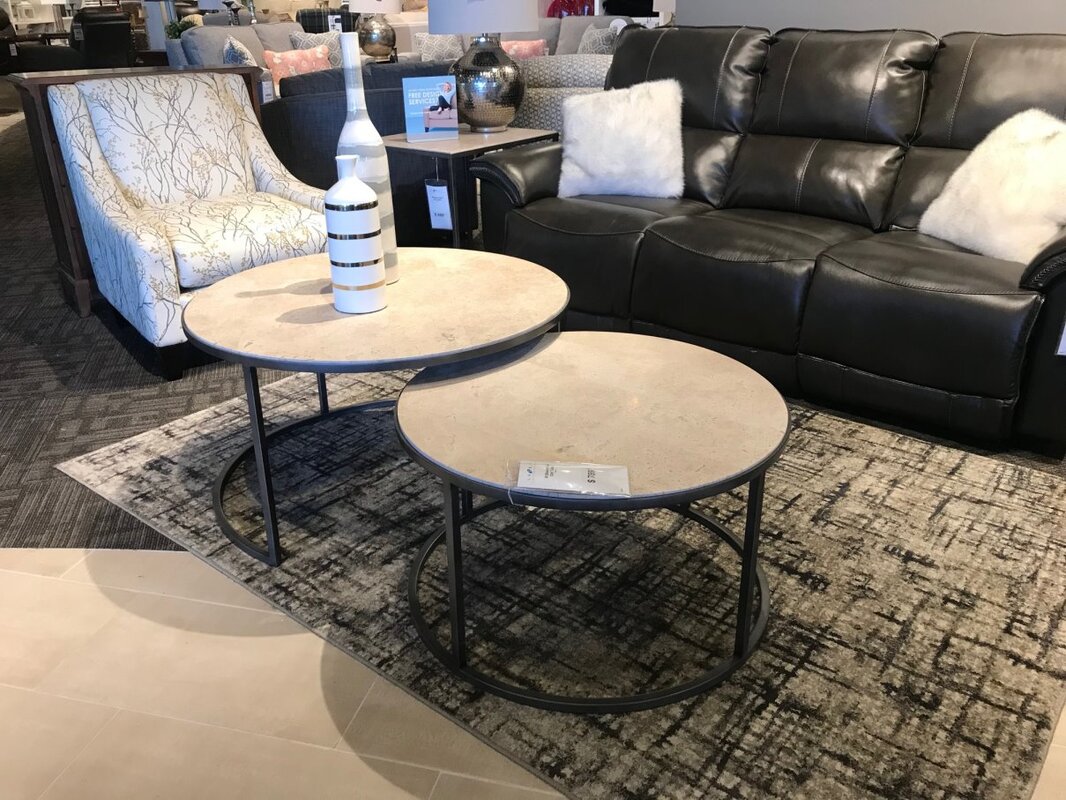
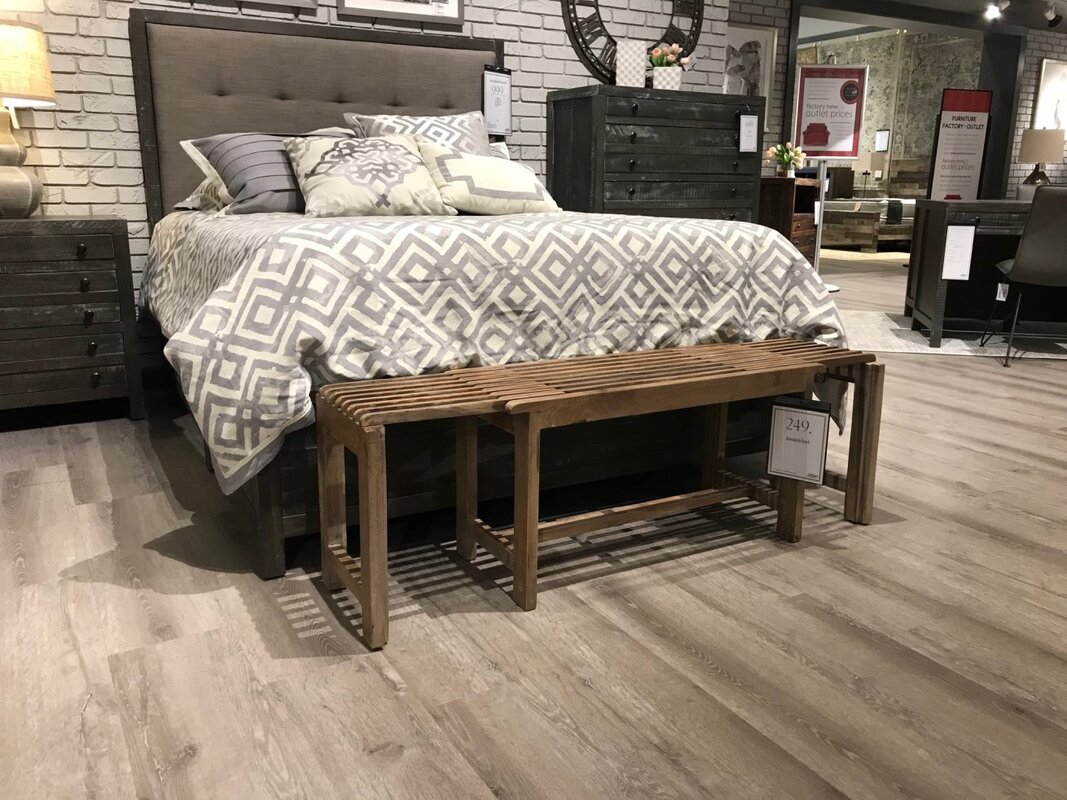
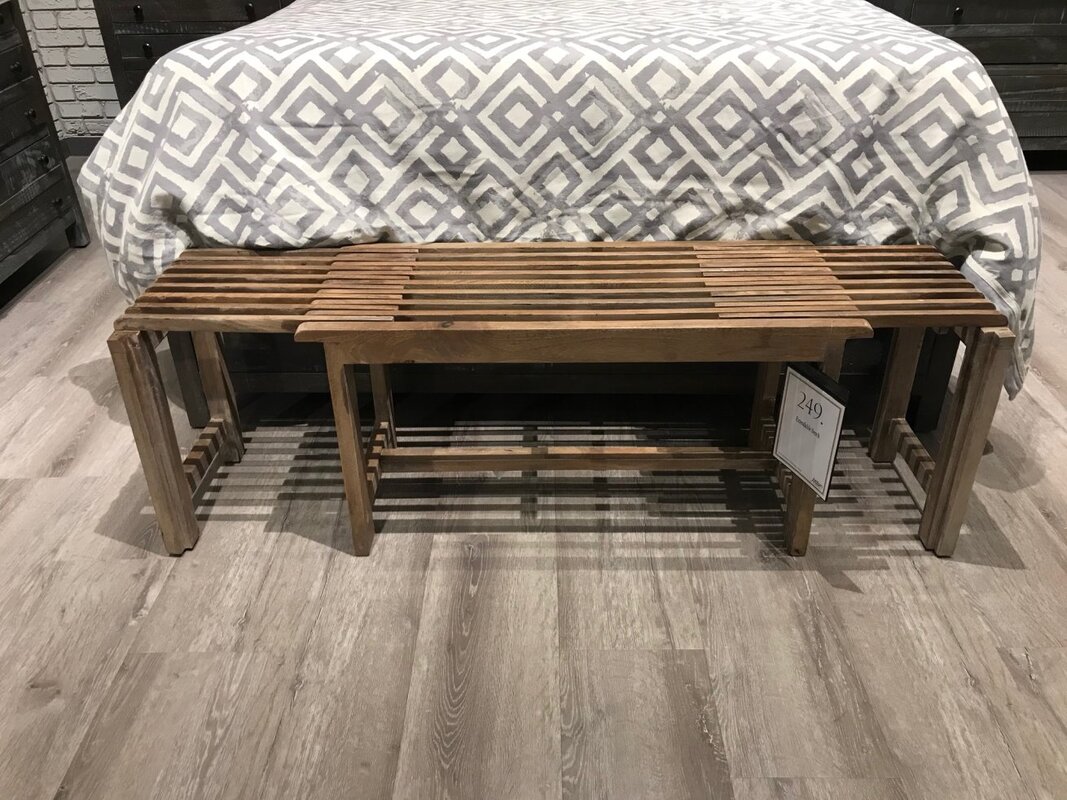
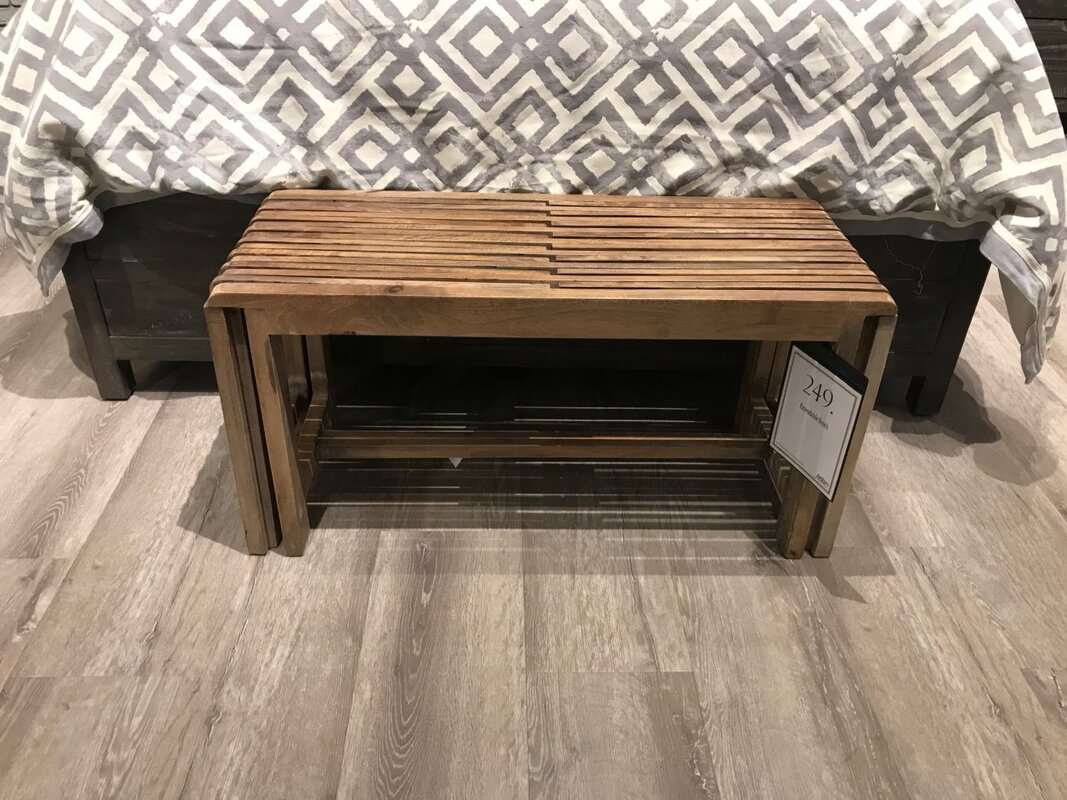
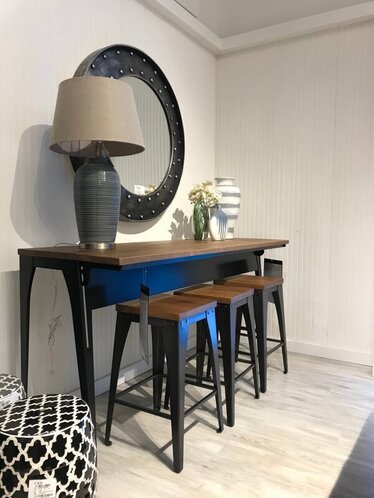
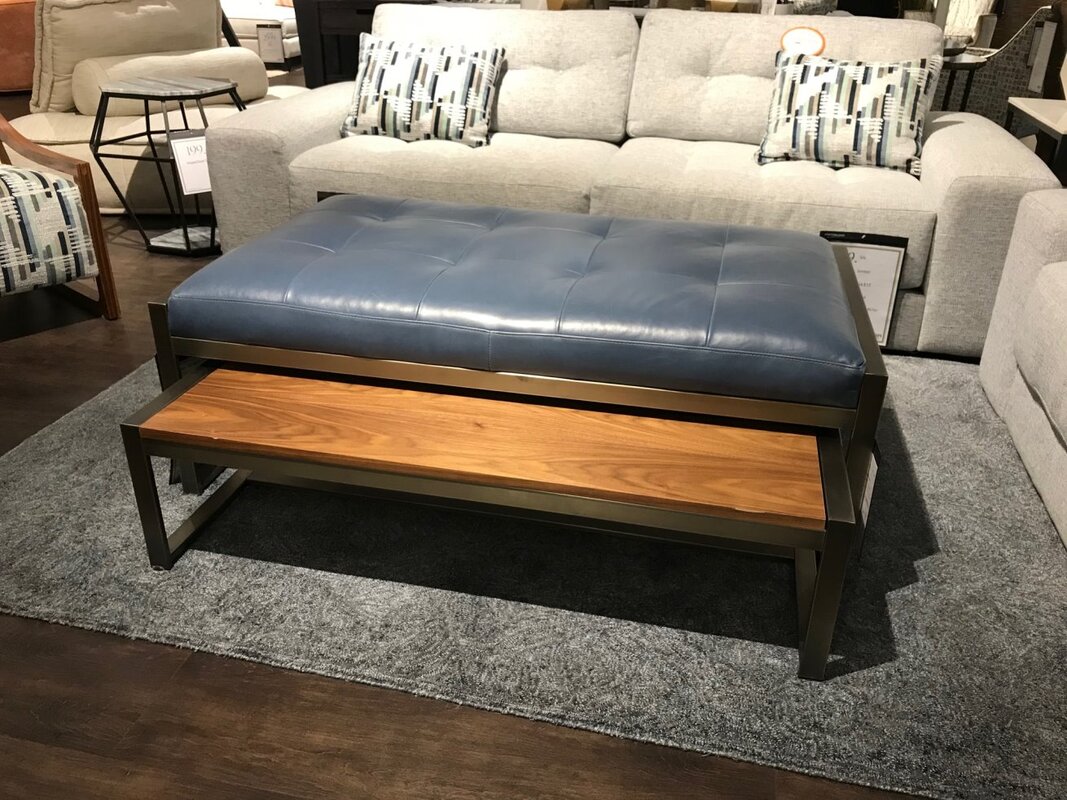
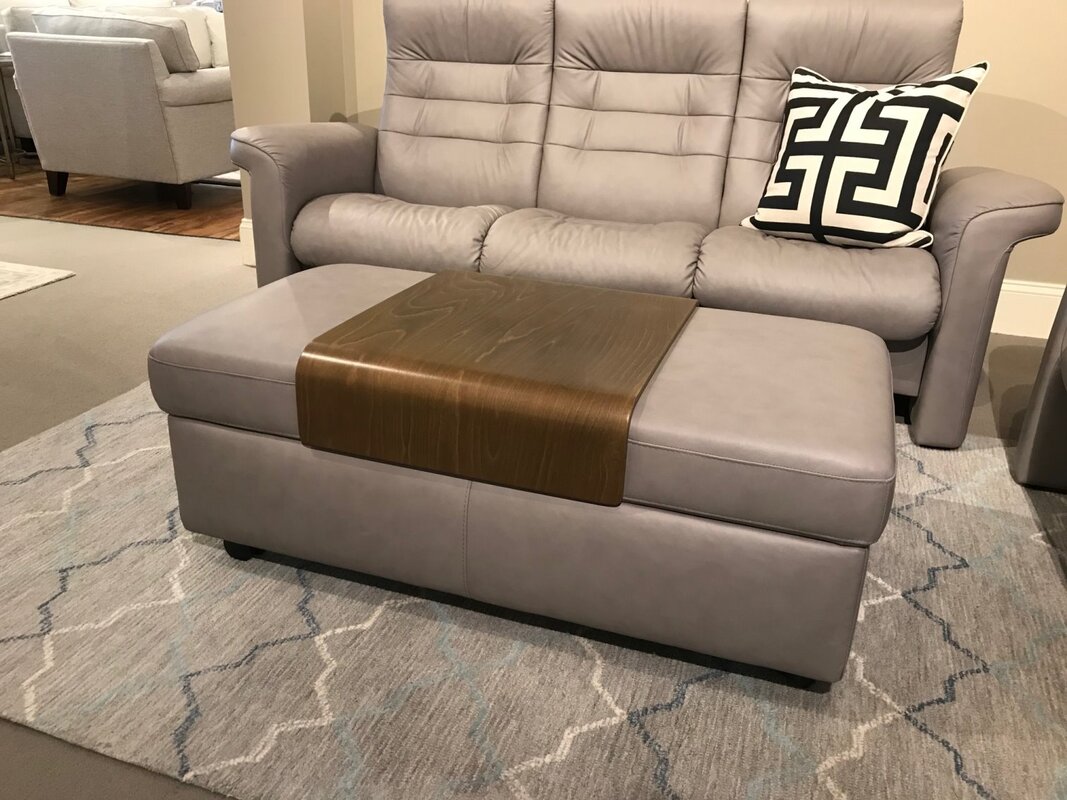
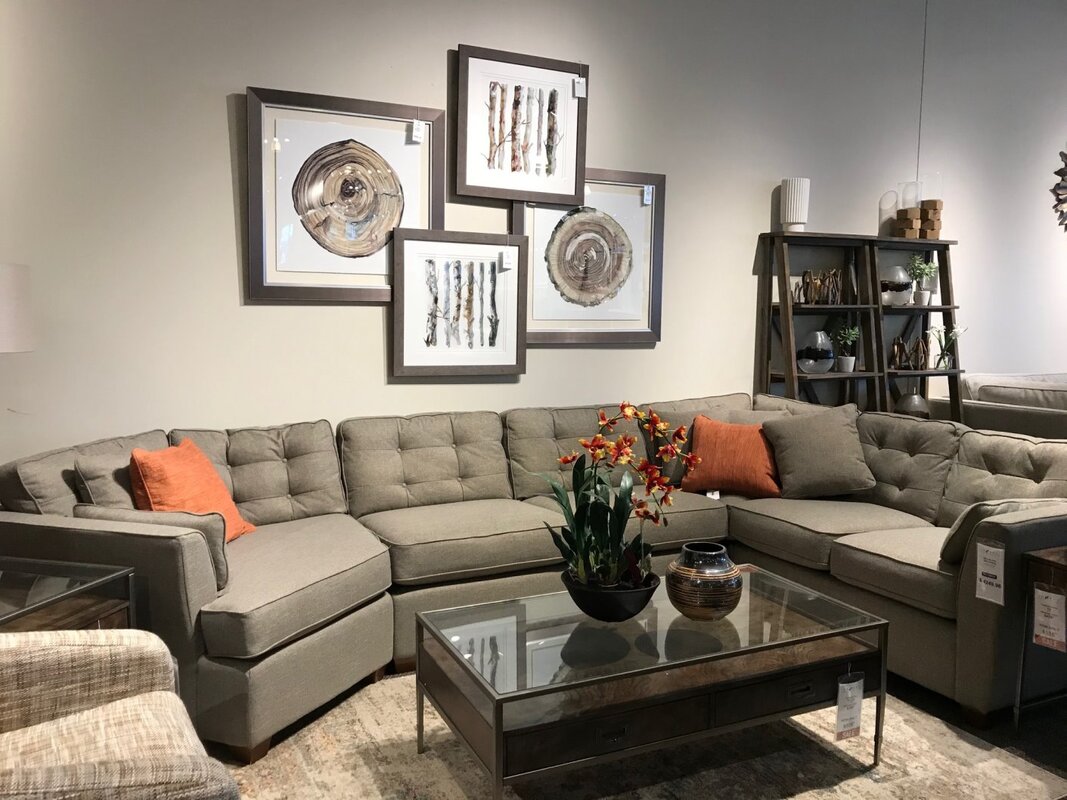
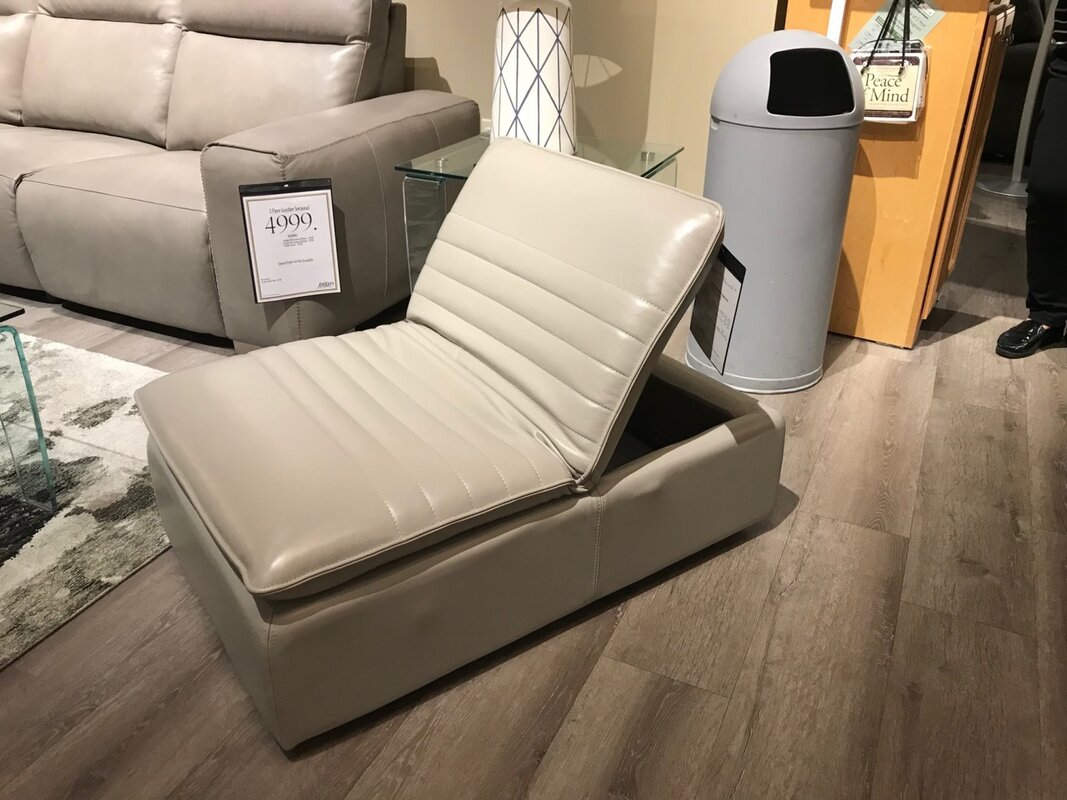
While you’re looking at the photos if you see anything that strikes your fancy, and you want to start a new project of your own, give me a call. I would love to work with you too! (click on any photo to start the slideshow): Lately I've been busy shopping for new furniture for several of my clients. Consequently I have been to many of the furniture showrooms and specialty stores in the Boston area, and during my travels I've run across several clever furniture ideas that I thought I would share. 1. Furniture that fits our digital world and our need for electrical power. Does the following scenario sound familiar? You haven’t updated your family room furniture in years, and there’s no way to power your electronic devices when sitting on the sofa or relaxing in your chair, short of unsightly extension cords. If this strikes a nerve, you might want to take a look at some new low-cost end tables, like the one shown below that has a handy (and hidden) electrical port at the back. I found this end table at LazyBoy furniture when I was searching for a “power” footrest sofa for some elderly clients. This is a simple solution for your family room to keep everyone happy and well-charged. If you look around these clever “powered” tables are everywhere these days. 2. Nesting Coffee Tables. Although this isn’t a new concept, there are now many options for space-efficient and versatile coffee tables, like the round nested tables shown below, on the market. Some even come with marble or stone tops that add lots of versatility - the children can play and do writing projects, and your friends can safely set down a cup of coffee or drink. Yes, after Covid, we will eventually have guests in our homes again! Plus, introducing a stone top provides interest and dimension to your family room in addition to beautiful functionality. 3. Expandable Bench. I came across this clever bench at my local Jordan’s Furniture in Natick, MA, and thought that the idea was just ingenious. They show it at the base of a bed, but I can also envision it in a mudroom or entryway, neatly compacted down like in the last photo. The wood top would be perfect for you and your children to take off winter boots after playing in the snow. Then, when you have company and need to expand your dining room seating to accommodate more people, you can expand this bench to seat at 3 or 4 people. And look at the price Jordan’s is charging, amazingly low for such a versatile bench. 4. Space-saving console table with stools for back of the sofa. A year ago I blogged about the clever “Gathering Island” concept: “Furniture for Gathering in the Family Room”. Below is a photo of a similar concept, that I recently found at Jordan’s, where a flip top panel at the front is a terrific additional feature. You can put this piece behind a sofa that might be floating in the room, and then be able to work on your laptop while sitting higher than your family members who have scored the comfy sofa seats. Convertible furniture is really nothing new, of course, and college students and city-dwellers face this kind of challenge all the time when trying to determine how to live in an ultra-small space. For homeowners, however, we seldom think or look for adding space saving ideas to enhance our existing spaces. Additionally, if we are lucky enough to live in a moderate or large size house, we might not even contemplate googling “space-saving” furniture. (But then that’s what you hire me for - helping you envision the possibilities.) 5. Having it all in a coffee table. Upholstered ottomans in front of a sofa are very popular nowadays. Really, who doesn’t want to put their feet up at the end of a day? But relying on a tray set upon the coffee table to hold drinks and snacks seems like an unstable proposition for everyday use. Here are two coffee tables which combine the ottoman idea with the hard-surface idea. The first is from LazyBoy, with a pull-out table top, and I spotted the second, with a hard shelf, at Boston Interiors. 6. Another versatile coffee table. By now, you can tell I’ve been shopping for coffee tables, right? Here’s a coffee table I found at LazyBoy which beautifully combines the need for drawer storage of TV remotes and such, but still has a glass top for functionality and durability. It doesn’t dominate, but is a happy “supporting player” in a family room. 7. Storage ottoman that converts to a chair. This is a clever piece that I thought would be perfect in a family room or basement play room; found at Jordan’s. I can envision storing throws (or Legos and action figures or dolls) in the piece which would be easy to move around a basement. I hope that seeing some of these clever furniture ideas energizes you to examine your own spaces, particularly your family room. Let’s face it – we are all spending lots of time at home as we get through the Covid morass, and this is the time to at least identify where you could be more comfortable and productive in your home.
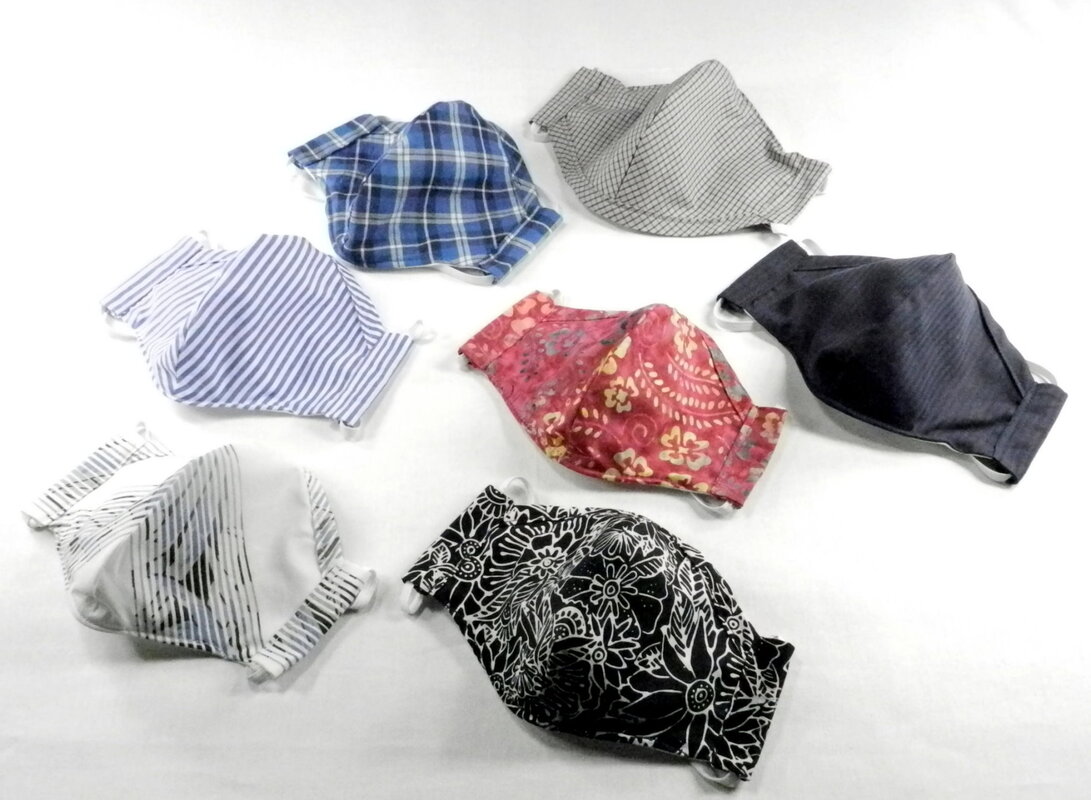
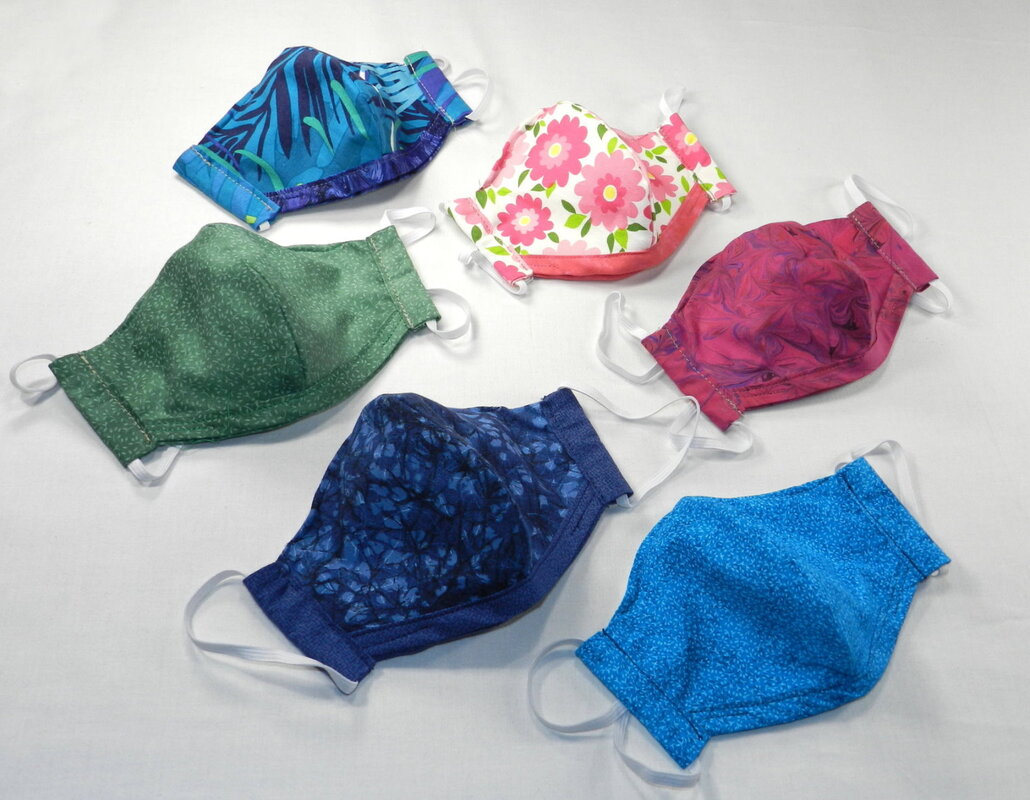
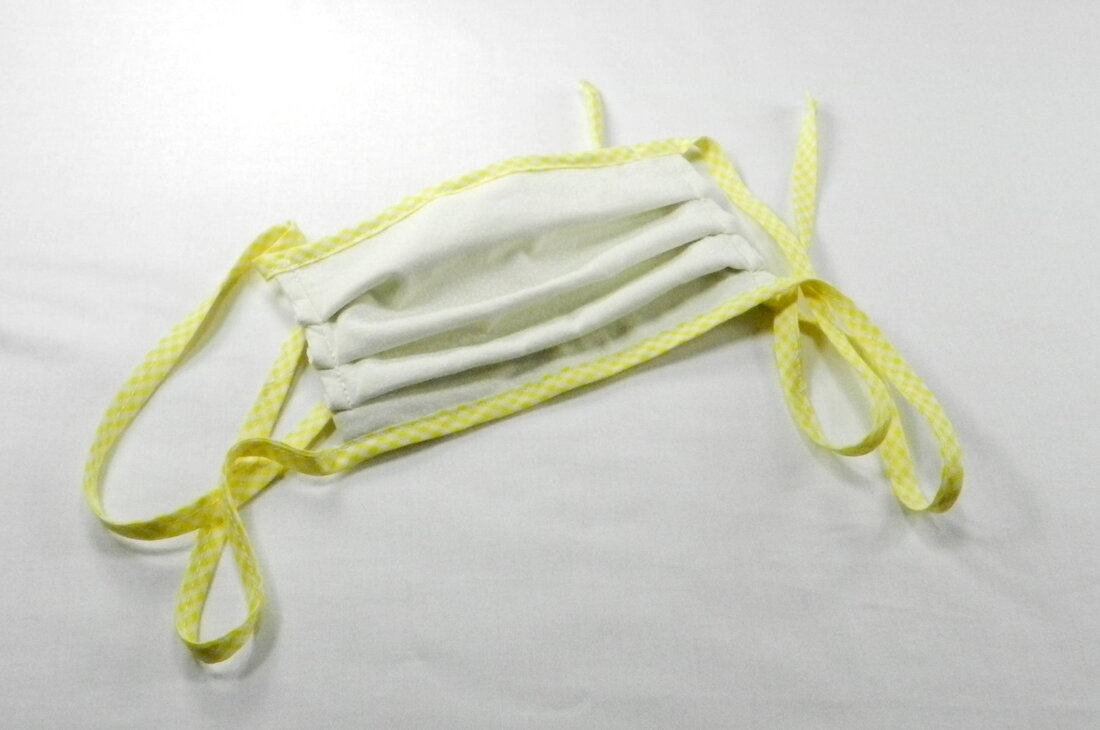
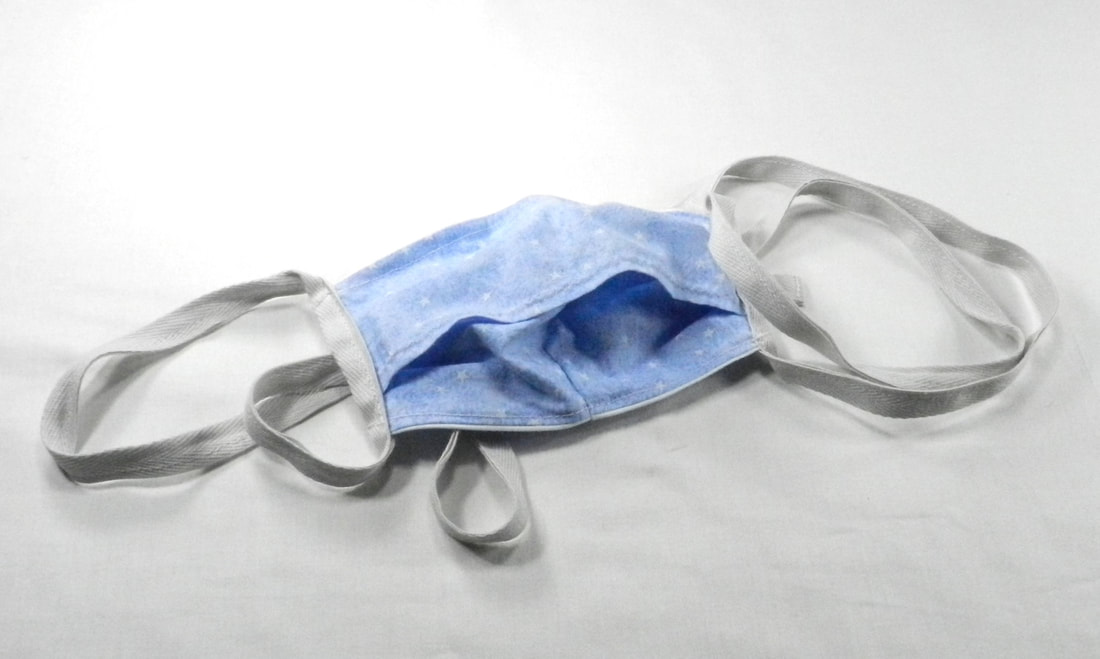
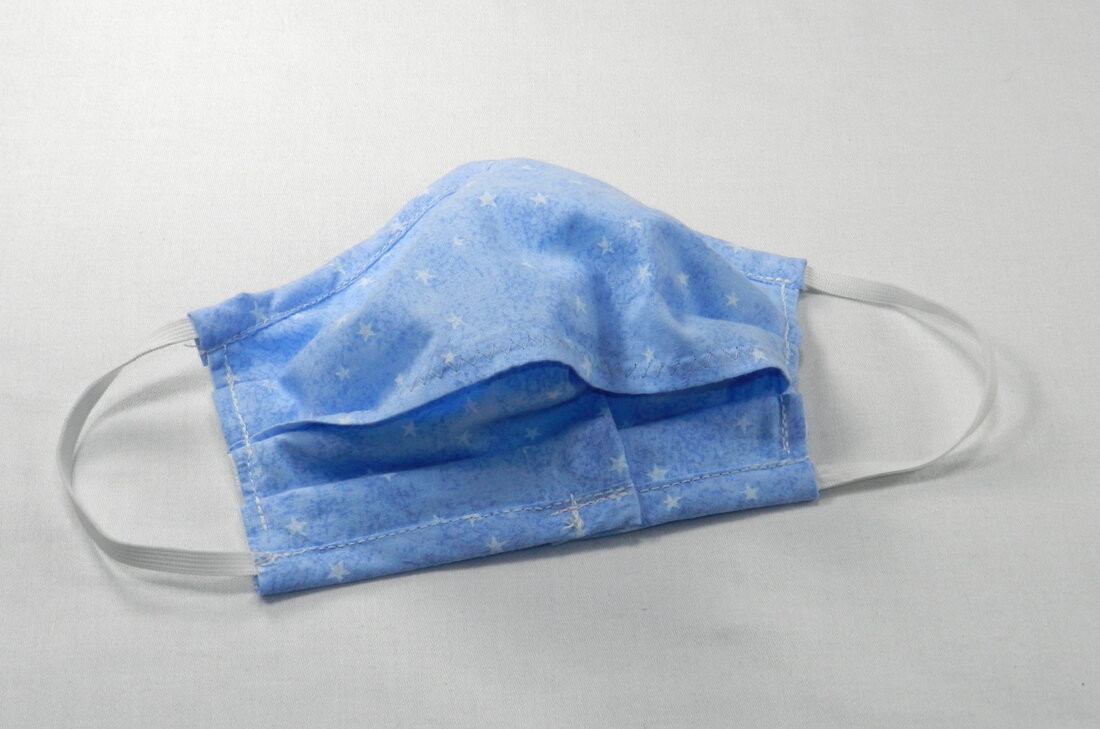
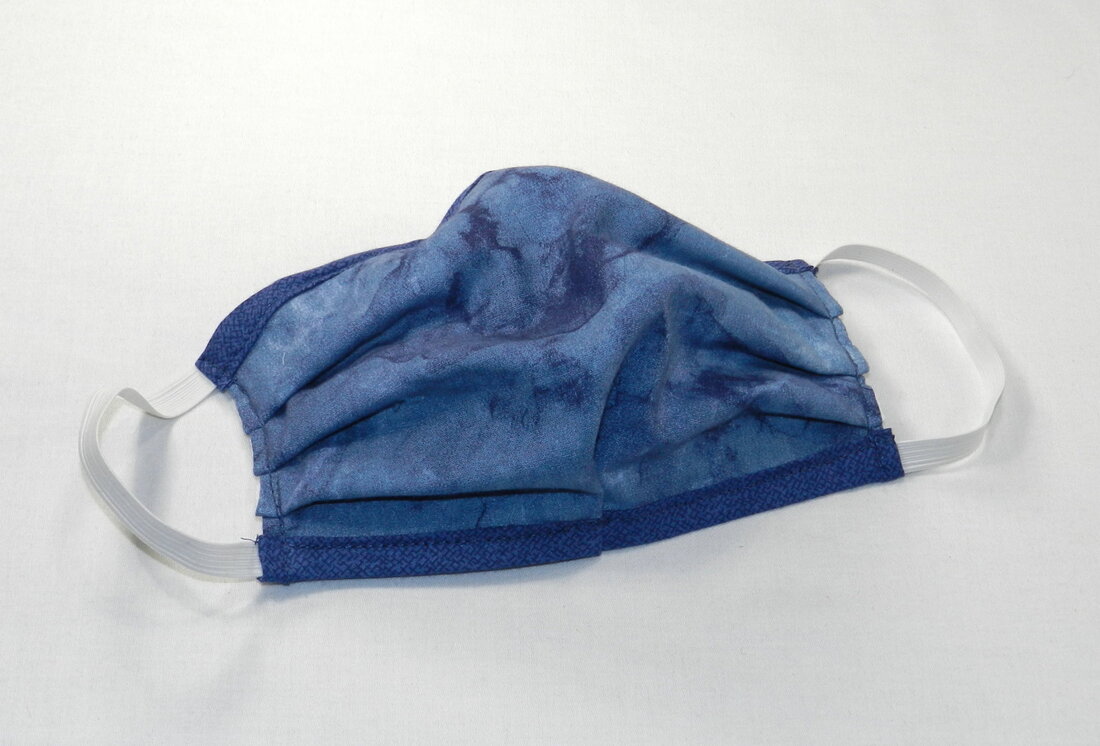
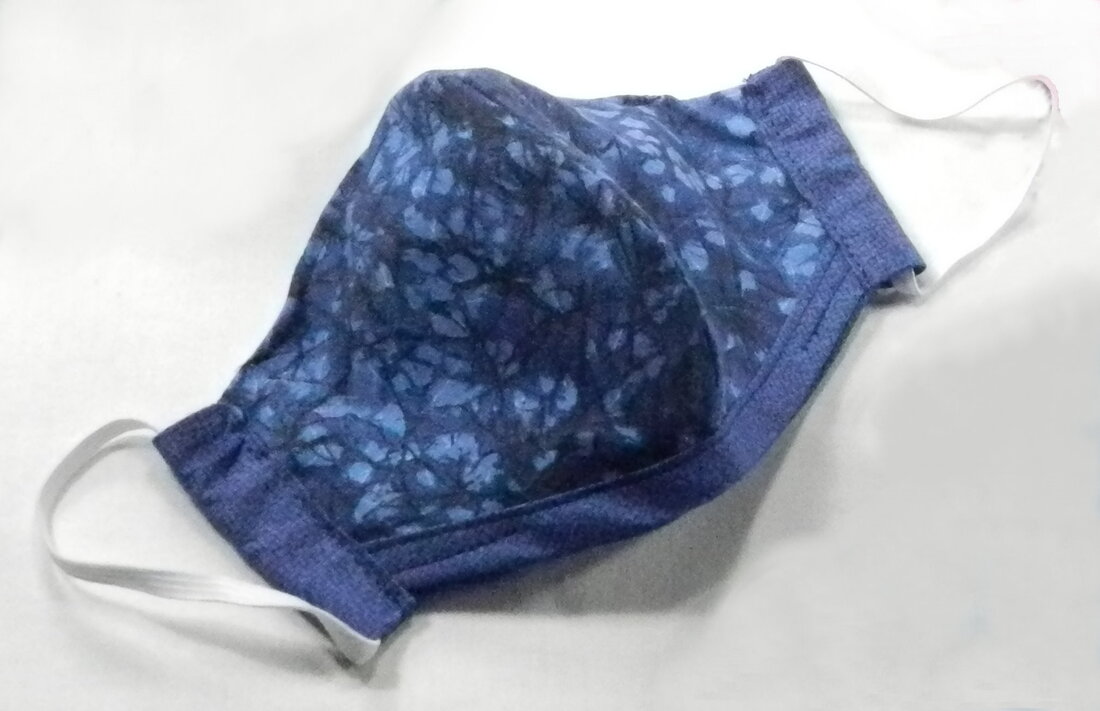
You might not know it, but the furniture industry is booming during Covid - all the manufacturers are working, and interior designers (such as myself) are happy to help you make your home more comfortable and aesthetically pleasing while we ride this all out. So call me, and let’s do a virtual walk through of your home, or a socially-distanced in-person visit. Back in April I wrote a blog post about “Making COVID-19 Masks for My Family and Friends”. Well, quite a bit of time has passed since then and I thought that I would give everyone a quick update on my latest mask activity since I know that some of you used my information to make masks of your own. The good news is that the final version of the masks that I settled on back in April (version 2.0) worked out really well for all my family, friends and clients. In fact, this design held up so well that the only significant change that I’ve made over the past two months was to remove the internal pocket for adding an additional filter. Everyone thought that they would use a pocket like this to insert additional filtering layers inside the mask if needed – but in practice people found that they did not actually add any additional filters. Based on that input I’ve continued to make bunches and bunches of masks over the past two months for family, friends, acquaintances from church and for clients that requested them. The version 2.0 mask design has held up really well, and the wearers really like the tight custom fit and the piece of floral wire I added at the nose (top of the mask) so the mask could fit tighter on the face and not fog the wearer’s glasses. So, for my Version 3.0 masks I’ve removed the internal pocket and focused on refining my pattern and process to make masks that come in a variety of sizes so that they can more tightly fit a wide range of face sizes. I’ve also increased my mask fabric inventory so that I can make masks to fit all sorts of different styles. Here’s a picture of some of the version 3.0 masks that I most recently made. Like I’ve previously mentioned, I’m not selling these masks, just providing them locally to my family and friends (and clients that request them) as a small token of community service. Hopefully you are all in good health and good spirits as Summer gets into full swing and we get the COVID-19 mess behind us.
In my previous blog, I promised this post would be about “composing a gallery wall and installing it easily and perfectly by yourself”. Well, as all of you know, these days plans change fast! Since I wrote my previous blog, I’ve set aside my decorating efforts for a couple of days each week to make face masks for my family and friends to protect them from the COVID-19 virus when they are out and about. I’m not selling these masks, or making them for the general public, so why am I blogging about them? Well, in short, to offer what I found out about making masks to any other people who want to make masks themselves, so that they don’t have to go through the same learning curve that I did. The US sewing community (professionals and home-sewers) have really rallied to all the calls from hospitals, nursing homes, the Surgeon General, and the whole population of the US for fabric masks to help protect individuals (regular folks like me and maybe you) with an effective face covering. We’ve been advised that because of the current shortage of Personal Protective Equipment (PPE) the “official” N-95 medical masks should be reserved for medical workers and essential personnel on the front lines fighting the COVID-19 virus. The disposable blue masks seem to be available at the present time, but they’re really only for one-time use – not a great option. So what’s the alternative? The best alternative appears to be handmade 100% cotton fabric masks that are washable. Let me be the first to acknowledge that there are numerous patterns out there on the internet (for free, of course) for these fabric masks. If you go to YouTube and search “fabric masks” you’ll find an amazing amount of helpful advice, videos, and patterns to hand-sew or machine-sew fabric masks. All of this advice and these patterns are probably better than nothing – but there are significant differences in the protective quality and fit of the patterns. I know, since at the start of my mask making journey, I surveyed many articles and videos, and downloaded many of the patterns. After I found what looked like the best pattern, I started producing masks. That’s when I found out that some of the patterns look fine – until a person tried to put it on only to find out that it’s too bulky, too loose, has ties that won’t stay tightly tied, has elastic that’s too tight, or has some other problem that limits its wearability or breathability, adaptability to various face/head sizes proportions, or effectiveness. Here are some photos of the masks that I’ve made to date – from my initial pleated version (which was the initial home-sewer “design of choice” because of the ease of cutting a rectangle and sewing, but had some fit and bulkiness problems) to the more fitted version that I’m sending out now to my family and friends. Mask #1 (version 1.0): This initial design was the best of the rectangular pleated designs that debuted on the internet in early March. It looked good and seemed to have the proper attributes. To start with, I preshrunk all of the 100% cotton fabric by washing it in hot water before starting fabrication. I then made about 30 masks to send out for the “something is better than nothing stage” and to request for feedback. On this initial version, my friends and family commented that the fit wasn’t snug enough and the ties were hard to keep tightly tied. They did appreciate the fact that the outside was clearly a different fabric pattern than the inside, which made the “contaminated” side easily discernable from the side worn next to the face. They also liked that there was a way to insert additional filtering layers inside the mask if needed and that I had added a piece of floral wire at the nose (top of the mask) so the mask could fit tighter on the face and not fog the wearer’s glasses. Mask #2 (version 1.1): This had a much more refined mask. Instead of a pleated rectangle this mask was actually more contoured and placed the pocket for adding an additional filter on the front so that the opening didn’t rub against the wearer’s face. The biggest downside was that the twill ties were still ungainly and didn’t work well for some people based on their head shape. Mask #3 (version 1.2): This version was essentially the same mask as v1.1, but with elastic instead of twill ties. The feedback that I received on this mask was that the fit was better and the mask stayed on better. Unfortunately, since the elastic was a preset length, some people had problems wearing the masks for long periods of time because the elastic pulled on their ears. Mask #4 (version 1.3): This version refined v1.2 by contouring the mask even more for a tighter fit and refining the filter pocket to be more streamlined. Mask #5 (version 2.0): As I refined my mask pattern I continued to innovate and go back to the design space based on the feedback I received from my family and friends. While I was doing this a breakthrough occurred when one of my vendors, Sailrite, sent me an email detailing their mask research efforts and their discovery of what they believed to be the “best mask pattern” (https://www.sailrite.com/how-to-sew-diy-face-mask). I discussed the merits of this new pattern with my interior design and drapery workroom colleagues, as well my 92-year-old mother who had tried out my v1.0 design. In addition to lots of great comments from my colleagues, my mom provided a brilliant suggestion to make a casing (or channel) at the sides of the mask so that the elastic could be inserted through, and tied to the best length by the actual wearer, rather than cutting the elastic to length and hoping that it wasn’t too tight or too loose for the specific wearer. Once adjusted. the knot can then be moved so that it is hidden in the fabric channel. Mom’s so clever, and is the one that taught me to sew when I was 6 years old. Thanks Mom for the great suggestion! The photos below show my current (and probably final) mask design with a close-up of the internal pocket where you can insert any type of filter (e.g. paper towel, piece of a hepa vacuum bag, piece of air filter, etc.,). This design fits snugly over the mouth and nose, but still allows for good breathability, and has adjustable elastic. If you’re interested in what the attributes of a medical quality N95 mask are, here’s a good article to read through: Making An N95 Mask For COVID-19 Coronavirus? What You Need To Know https://www.forbes.com/sites/brucelee/2020/03/29/making-an-n95-mask-for-covid-19-coronavirus-what-you-need-to-know/#5706a0b84989 So that’s it for today. Like I mentioned earlier, I’m not selling these masks, just providing them locally to my family and friends as a small effort of community service. Frankly, it has been fun to resurrect my quilt fabric stash and use up all those small bits (for good). Today I just wanted to share what I’ve learned so that others can learn from my trial-and-error process.
I’ll get to that blog post about composing a gallery wall as originally planned in the near future. Until then, stay safe and sane. We have a bright future ahead, I am sure of it, and I wish you all good health. (And wear your mask when you go to the grocery store!). Since many of you are currently either "working from home", or housebound from all the Government dictates, now might be a good time for you to address some of those home decorating projects that you have been pondering for a while. After all, Spring is arriving and that's a great time to refresh your nest - especially since you and your family are undoubtedly spending more time inside than usual. An important note: I hope that you and your loved ones are all doing okay in this uncertain and scary time of medical crisis. I also hope that you are okay with me putting out a business blog post that deals with a very non-emergency thing like interior decorating at this time. In my business, there is no such thing as a decorating emergency, and we all know (and appreciate) that. However, like you, I’m trying to get my family through the day in a productive way, abide by all the social distancing and health rules, and support my community and neighbors during this mess. So I think this blog post is reasonable – I hope that you do too. Thanks for understanding. Now here’s how we can work together - at a distance – over the next few weeks. Shop-At-Home Service My interior design business has always supported “shop-at-home,” and my design studio is located in my home, so I am already very well postured to help you with interior design activities “from a distance.” This means that we don’t have to interact face-to-face to get things that have been on your list for a long time accomplished! Because of how I’ve always operated, I have all my tools and resources at my fingertips right now, including fabrics, paint swatches, samples, sewing machines, woodshop, and my digital rendering software. So I’m ready if you are. Meet and Home Walk-through via Electronic Means Normally, I would come to your home in the Boston area, meet you, and discuss the scope of your interior design needs in person. Well, with Facetime and Zoom, we can still accomplish that task exceptionally well, just from a remote stance. After these discussions, to let you know how the proposed design would look, you can email me photos of your home, and I can email you back digital design renderings so that you can envision your home in a new way. Ordering Products
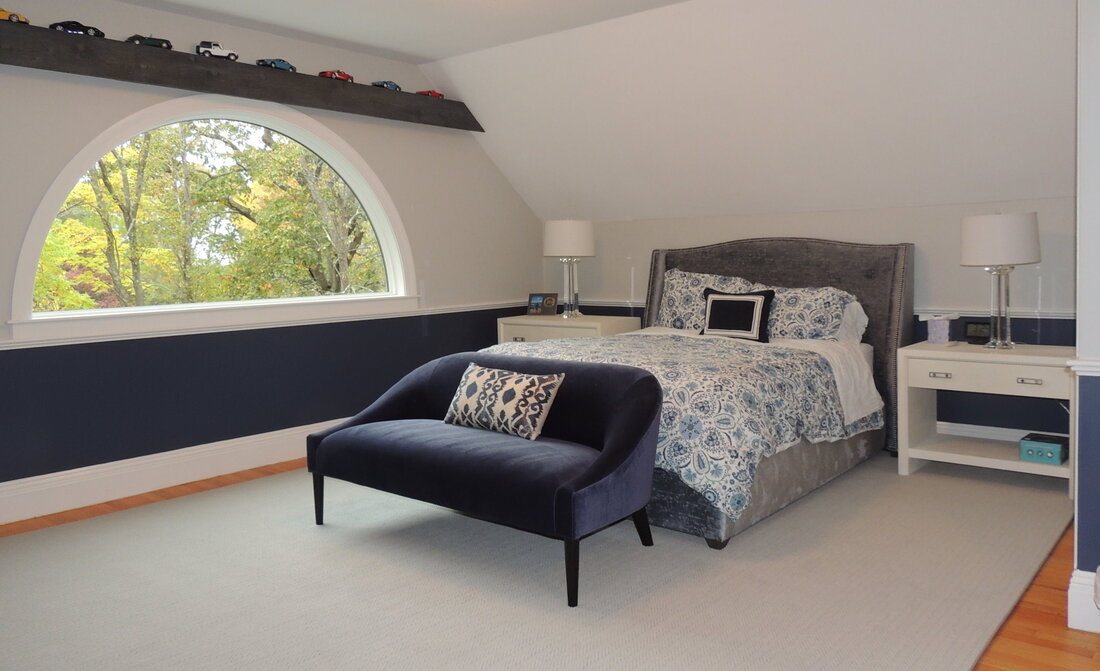
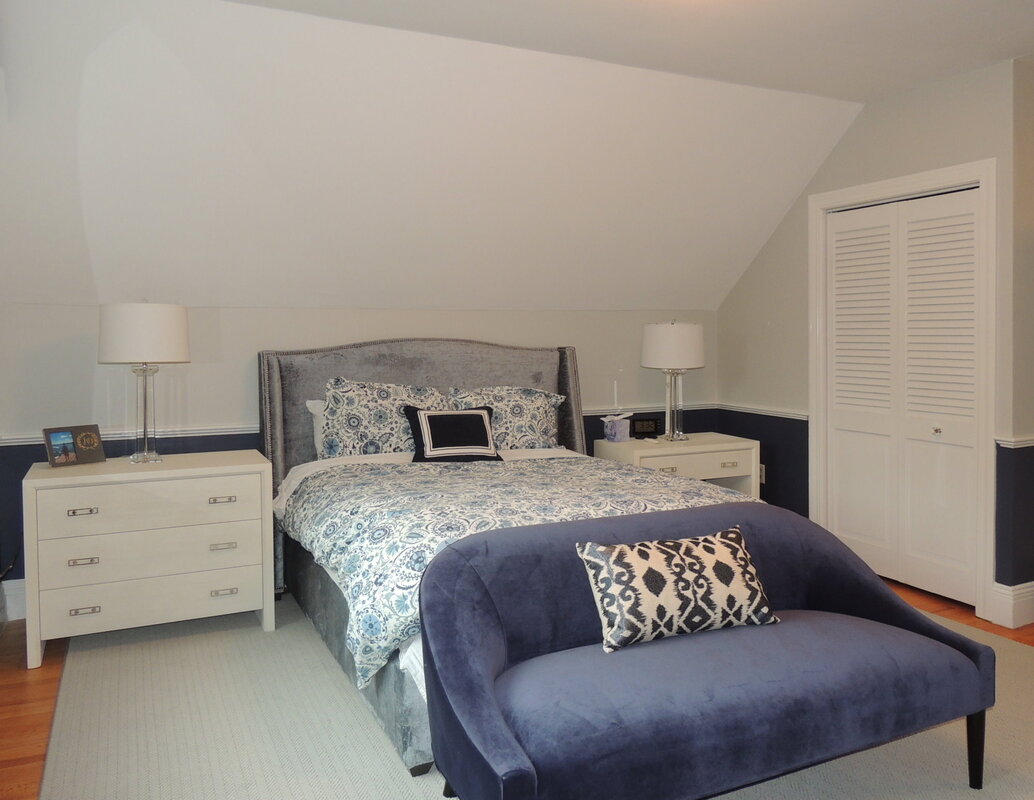
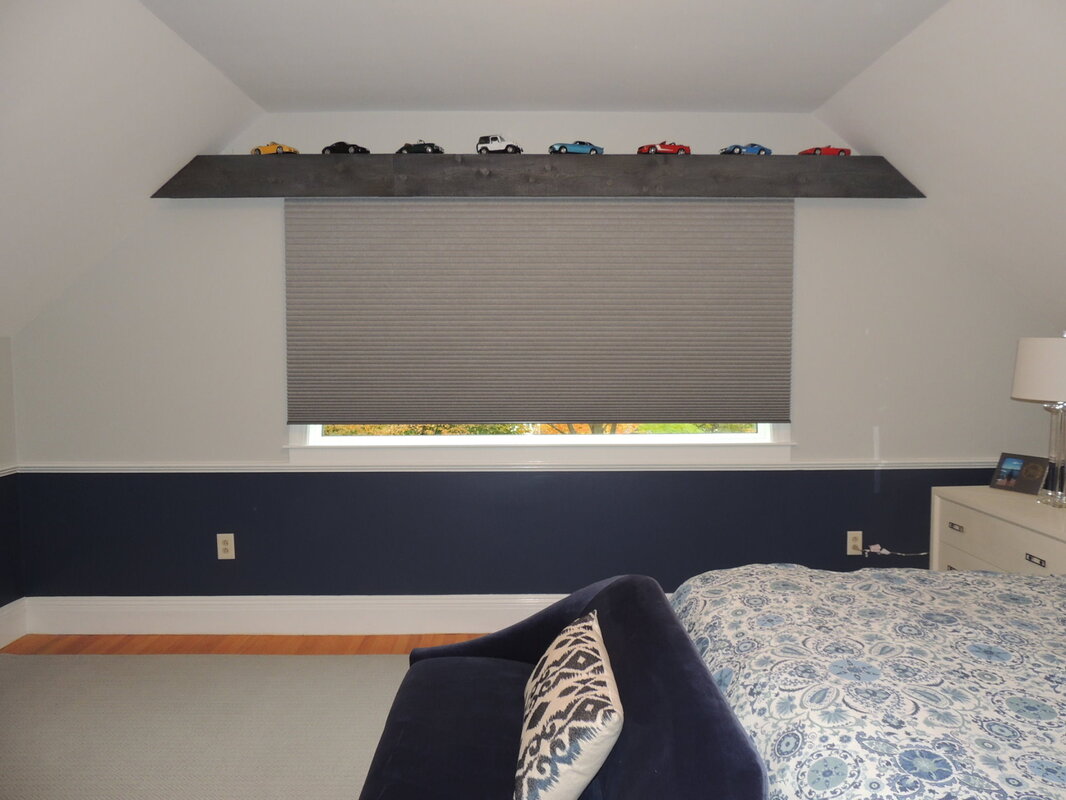
I'm a firm believer in American manufacturing, and my 3 main fabricators of blinds and shades (Lafayette, Horizons, and Comfortex) are all located in the US. Two of these manufacturers, and 95% of my fabric vendors remain open, operating and sending out products as of 27 March 2020; so that part of the interior design pipeline is very much viable and strong. Because they are great, I would very much like these companies to stay in business (and employ their fabulous workforce who always “speak with a smile” on the other end of the phone) during this time of uncertainty. In addition, my furniture vendors are all working remotely, and I have been in contact with my representatives to keep the ball moving on designs for my client’s current projects. For more information on my support to American manufacturing, you can check out my previous blog post. Working out the Details Once we have sorted out a design and plan, we can move on to implementing your design vision by taking the next actions remotely: Samples My fabric vendors are still sending out samples, so I can order samples that can be directly delivered to you. That way you can see, touch and feel whatever fabrics we determine together are contenders for your project. Taking Measurements Well, that might be a tad more difficult to do remotely, but we can work this out via Facetime and/or Zoom. I know that we can be creative! Fabrication I am getting lots of sewing/fabrication done while at home! You would not believe the amount of “inventory” of fabrics I have that are just waiting to be made into projects (e.g. valances, pillows, cushions, etc.,). Dropoff and Installation I am happy to deliver items to your doorstep like the UPS or FedEx driver. I can even install your items in your home (with appropriate social distancing and sanitization protocols) – or we can get everything made and install it after the crisis wanes. Alternatively I can guide you to install them yourself – by providing you with online installation instructions and by walking you through the installation via Facetime and/or Zoom. So, if you want to make good use of this break from “normal” life, give me a call at 978-440-7264. As always, I offer a free initial consultation, and that can be via electronic means. During our call we can chat about your needs and set up an electronic walk-through. It’ll be nice to talk to you, whether about decorating, or how fortunate we are to be in Massachusetts in the springtime, or our families, or that “elephant in the room.” As a note of encouragement, this morning my Lafayette representative, Jackie Ibarguen, sent me a quote that I liked: A bend in the road is not the end of the road... unless you fail to make the turn."-- Helen Keller Stay healthy! Personally I’m looking forward to our country and the world making the turn to safer times together with compassion, spirit, and dedication. This week I’m showcasing a guest bedroom I recently re-designed for a client who needed to convert the dual 3rd floor husband-man cave/toddler play area into a cozy retreat and guest bedroom for her mother’s visit. When I toured one of my favorite furniture stores, Mitchell Gold + Bob Williams (https://www.mgbwhome.com/Natick-Signature-Store.html), during the summer, I just knew that the Celina bed, the Malibu Collection Side Table and the associated 3-drawer chest were perfect for what my client was looking for. The Bella settee, also from Mitchell Gold, provides a perfect solution at the foot of the bed for TV watching, dressing, and overall velvet plush comfort. We used the Indie Shale (stock fabric) on the Celina Bed, and the look and feel is ultra-luxurious. Makes you want to just dive right in. This week everything was delivered so here’s the current state of my client’s new bedroom retreat. There’s still more accessorizing to be done, but the initial report was that the new setup was very comfortable for her mother’s recent visit. Many thanks to Dave Cline and Alicia Cross, my Natick Mitchell Gold store representatives, for being such terrific designers and assisting so expertly on this project! Here’s the links to the Mitchell Gold furniture: Celinea Bed - https://www.mgbwhome.com/search?q=Celina&lang=en_US Malibu Bedside Tables and Dresser - https://www.mgbwhome.com/malibu-collection/ Bella Setee - https://www.mgbwhome.com/search?q=Bella+settee&lang=en_US If you’re interested in the wall colors in the room, we didn’t need to repaint this room at all, and kept the paint colors from the previous design (Benjamin Moore Gray Owl [2137-60] and Newburyport Blue [HC-155]) that I had done a couple of years ago when we initially decorated the room as a husband-man cave/toddler play area. Newburyport Blue is a versatile navy that coordinates well with many navy fabrics. For the window treatment, you will note that this semicircular window is huge (96” across) and really needed something to allow the occupant to get some sleep. My solution? Again, from the original design, was to put a motorized room darkening cellular shade under the display shelf. For the carpet, I turned to my favorite carpet source, Carpet Carousel of Sudbury (http://carpetcarousel.net/) to source a herringbone bound rug. We selected a 12’ broadloom carpet, and Carpet Carousel bound it to the custom size we needed for the room. Shawn, Melanie, and Carol are simply the best, and I love working with Carpet Carousel for their selection, attention to detail, quality products and quality installation.
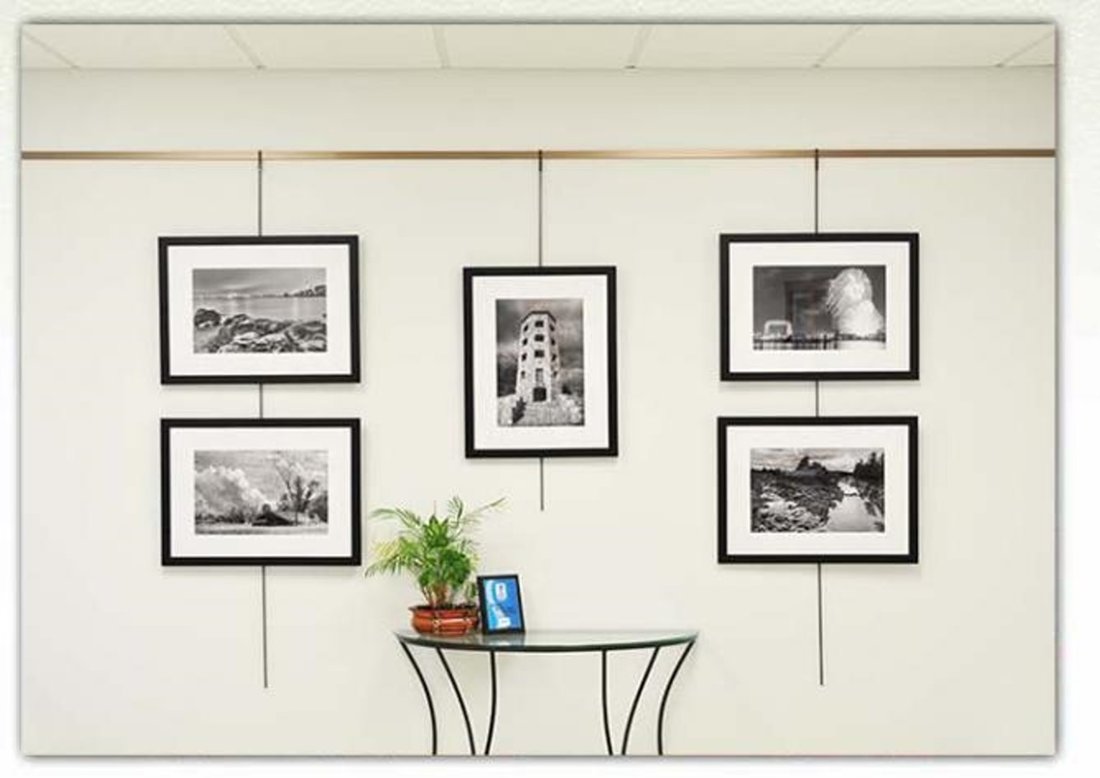
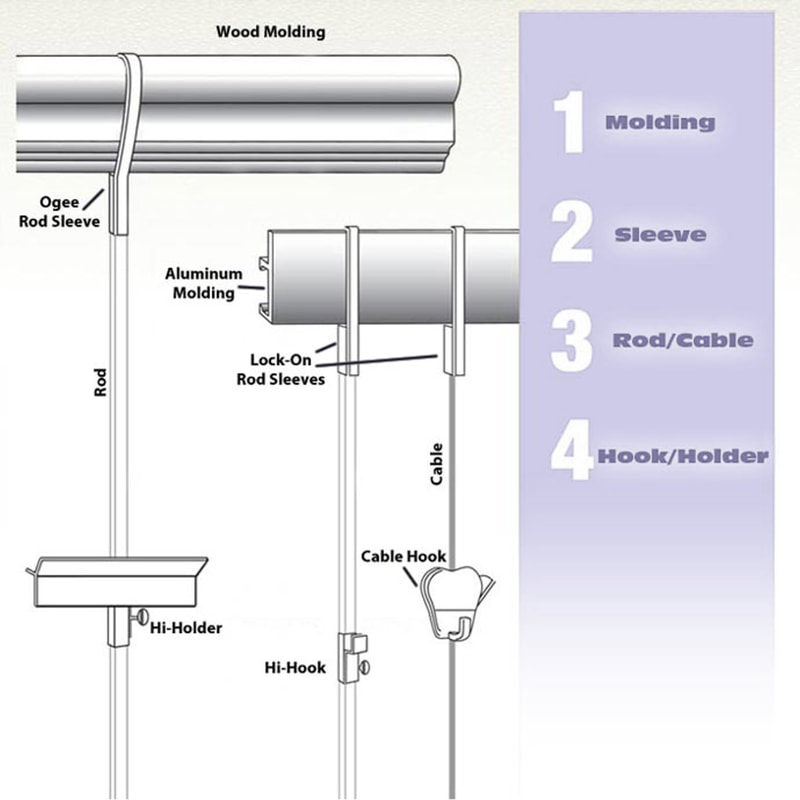
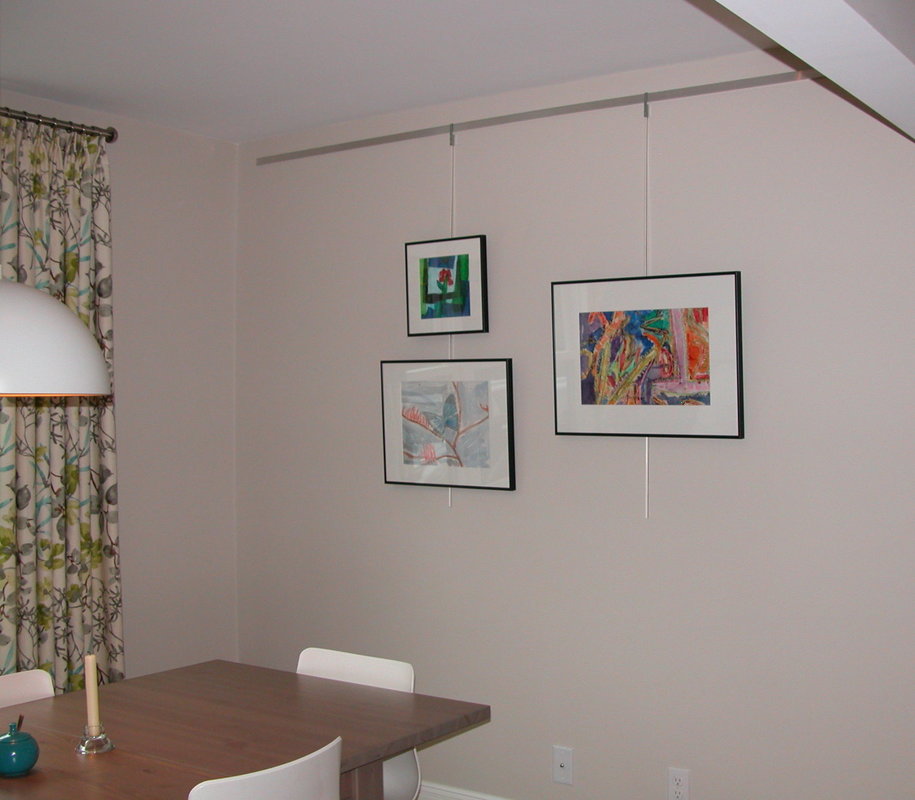
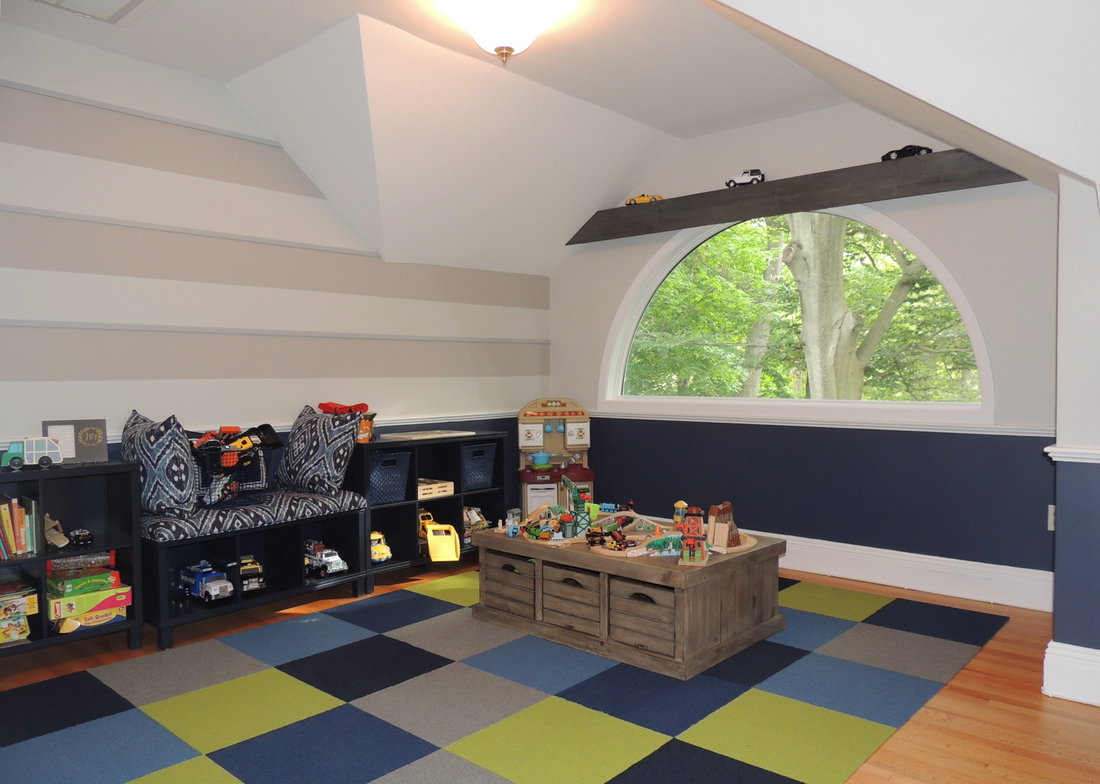
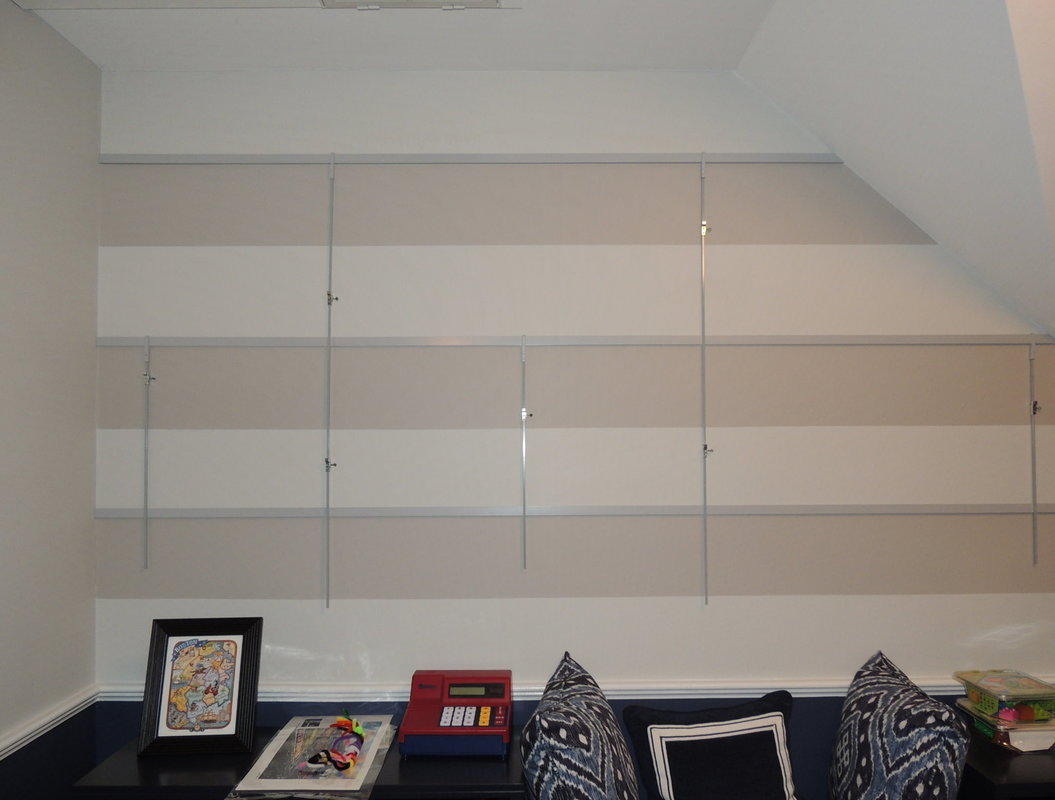
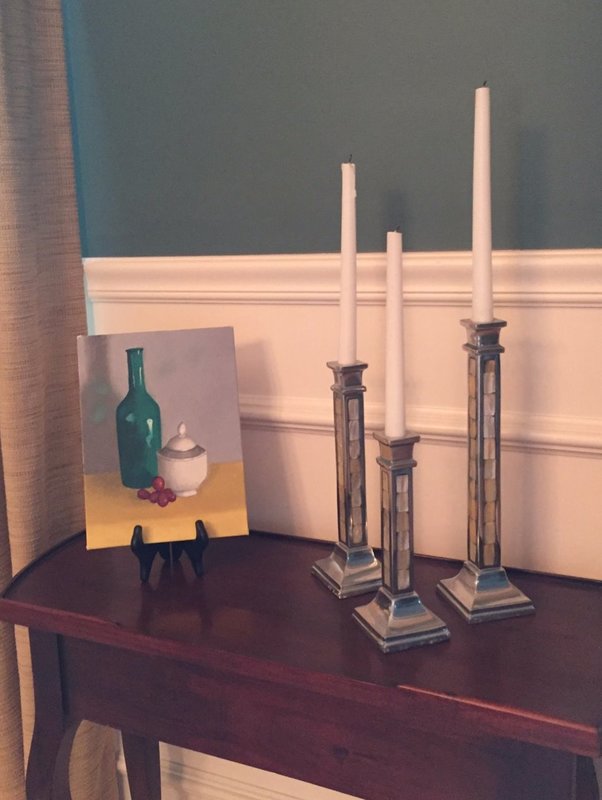
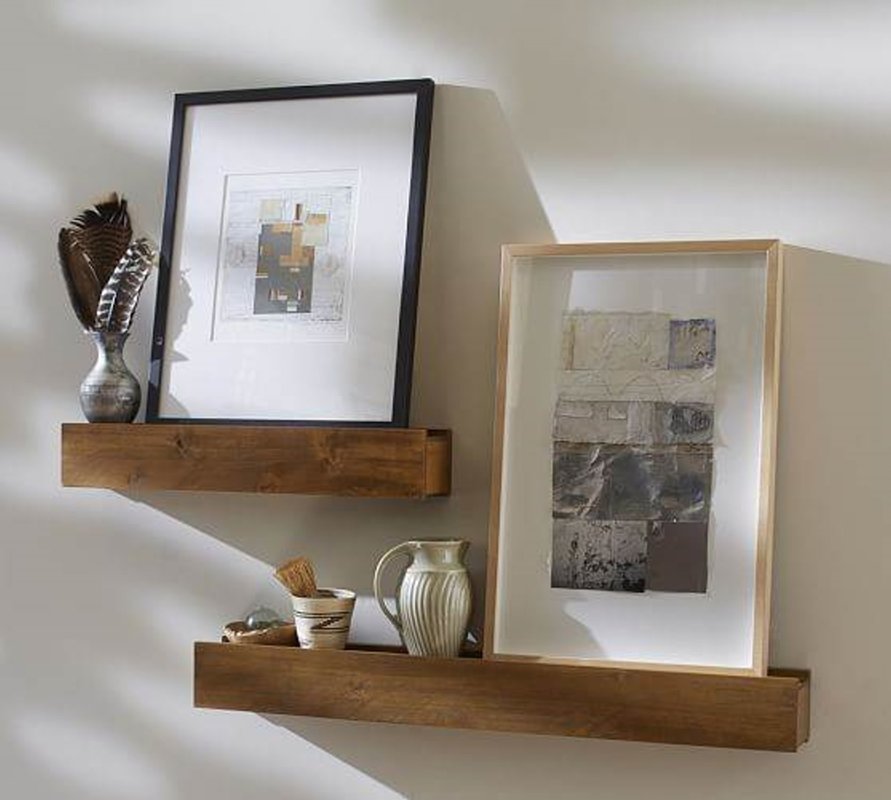
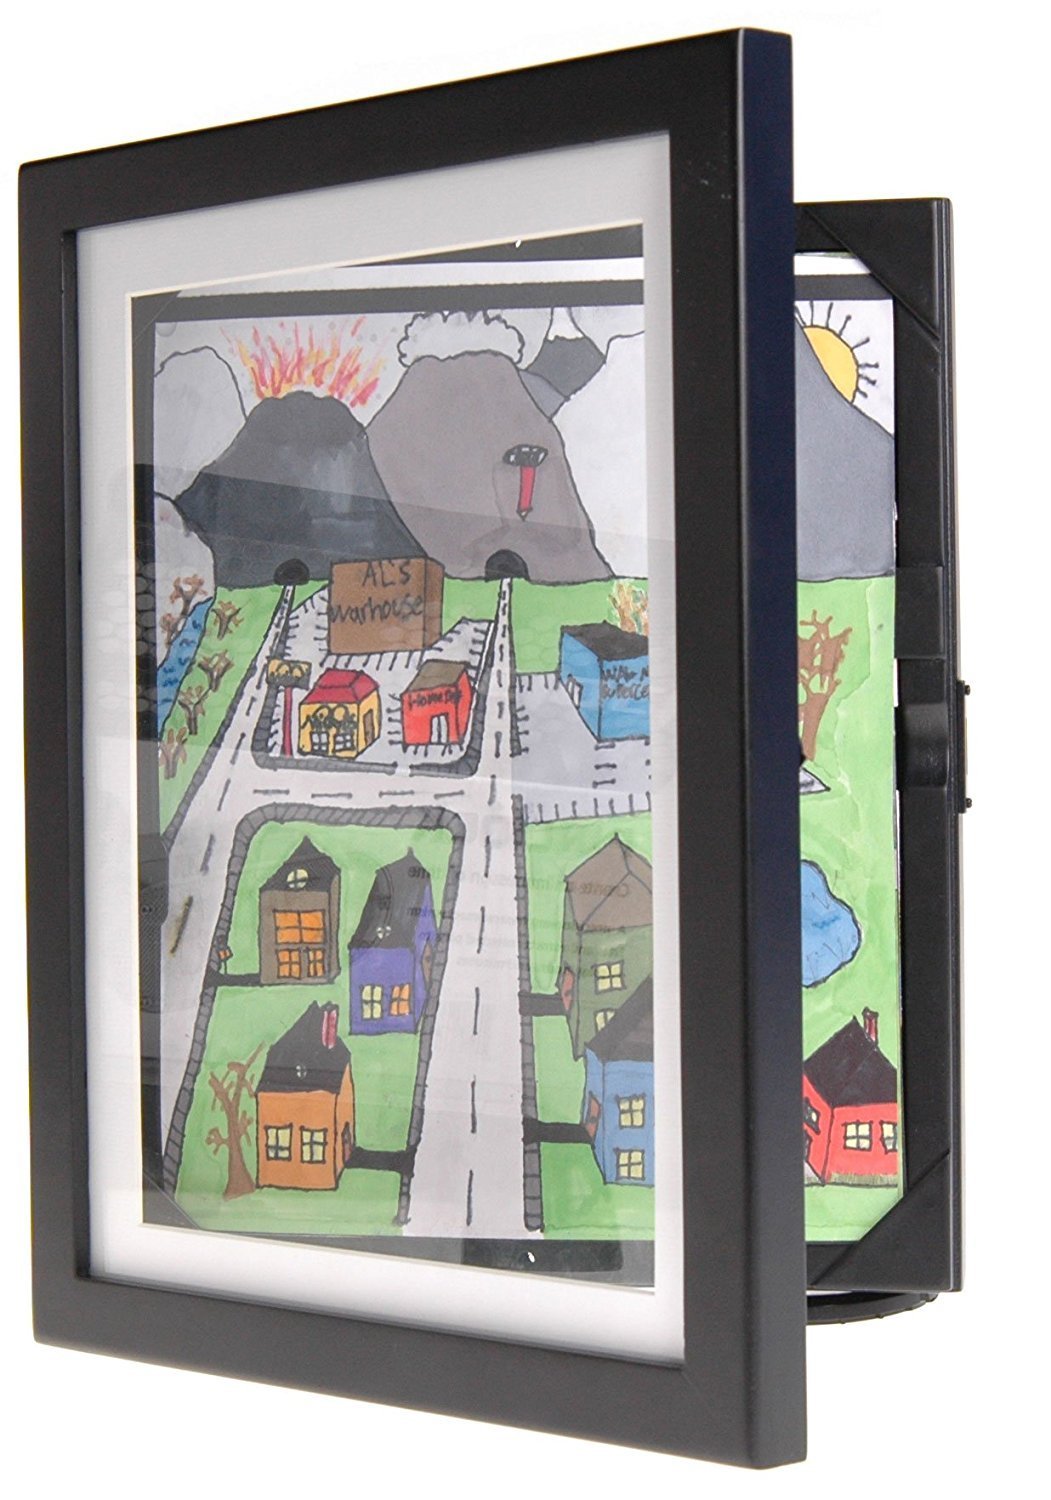
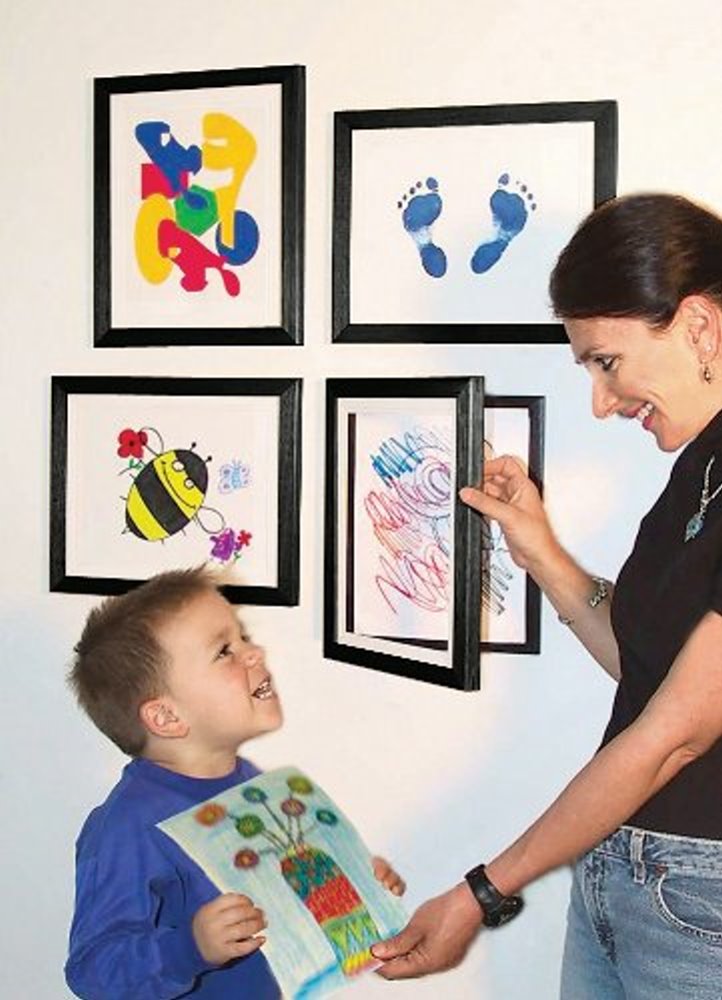
Do you have a guest bedroom you would like to refresh? Call me, I can help. It’s glorious summer, and if you have children, perhaps they’ve completed a week or two at camp. What fun! Now they’re home, and you have the results of their creativity - artwork galore - sitting on top of your dining room table. Perhaps at the very bottom of the stack you also have the artwork that came home when school ended this year. Are you wondering what to do with the cream of the crop?? Well, it’s time to display some of your kid’s creations, and there are 4 ways you can do that without adding endless nail holes to your walls or committing to displaying your kid’s “early works” forever. Are you ready? Here’s how! #1: Walker Display System You’ve probably seen this kind of display system at libraries and galleries, and it makes total sense to create a hanging system in your home to enable a changing display of your children’s artwork. Yes, you have to have framed pictures to pull off this look, but it’s pretty easy to get inexpensive frames at Michael’s that come with mats, and complete the “framing” yourself. Almost anything looks better with a black frame and a white mat, especially vibrantly colored artwork. As shown below, the vertical rods holding up the pictures slide along a permanent horizontal bar affixed to your wall, thus allowing easy reconfiguration, addition, and subtraction. And it’s quite doable in your own home with simple components you can order on-line at: www.WalkerDisplay.com Here are the components and how they work together. Here’s an example of the Walker Display System featuring my client’s artwork in her eating area nook. Here, on the left, is a third floor play space that has been outfitted with Walker System’s horizontal rails, ready for hanging. On the right you can see the vertical components and hi-hooks, which can catch a saw tooth or wire hanger on a frame. All ready for some terrific artwork…. #2: Easels for Displaying Art Stand up easels are really handy for displaying your kids smaller pieces of art on tabletops among other photographs and accessories. Here is a still life oil painting my daughter created that feels right at home in our dining room. #3: Picture Ledges Pottery Barn, Ikea, and other on-line and retail stores sell inexpensive ledges for displaying pictures. Installing a few picture ledges at various heights on a wall in your kitchen, entry, landing, or playroom can give a nice perch for new art, including sculptures. Here’s a vignette from Pottery Barn using some rustic wood ledges. With the ledges, you can switch out the artwork in the frames and create a new vignette every few months. Maybe each child has their own ledge and makes the decision on what to showcase? You could also put your children’s names (with alphabet blocks) on the ledges to properly attribute the work to the artists. Maybe switch out art at every major holiday through the year—perhaps every time the kids get a Monday holiday off from school? The key is to make it EASY to switch things out…and fun for your kids. Ikea also has versatile and long picture ledges, and there seems to be a whole part of the internet dedicated to Ikea hacks…ways to upscale and repurpose “basic” Ikea components into clever pieces. In 2015 Lauren Smith of House Beautiful wrote about 12 ways to use Ikea ledges for ingenious organization: https://www.housebeautiful.com/lifestyle/organizing-tips/g2810/ikeas-ribba-hacks/ I just love the ideas for hacks, and can envision lots of college students getting their dorm accoutrements together this month… We have an Ikea in Stoughton, and I bet it is super busy with college students this month! #4: Easy Swap-out Frames The fourth way to provide an easy way to display kids’ art is with a special frame that allows easy addition and removal of new pieces…without taking the frame off the wall. Available at Amazon, the “Lil Davinci” is a special frame that holds 8.5” x 11” artwork AND stores up to 50 sheets in the frame itself. Gotta love this easy idea and the name! https://www.amazon.com/Child-Artwork-Frame-Display-Masterpieces/dp/B000IF7JXS So, whatever mechanism you decide on to showcase art, I hope you and your little Picassos have a wonderful time creating and arranging your home’s gallery. Kids’ art is so precious and imaginative…and very worthy of display! Ya just gotta do it…
|
Barbara PhillipsBarbara Phillips, interior designer and owner of Center Stage Interior Designs, has delivered impeccable window treatments and design services to both residential and commercial clients in Massachusetts since 2001. Categories
All
Archives
March 2021
|









 RSS Feed